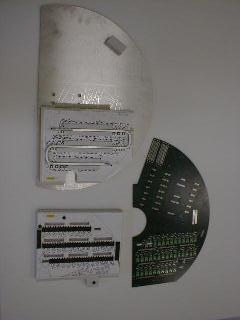
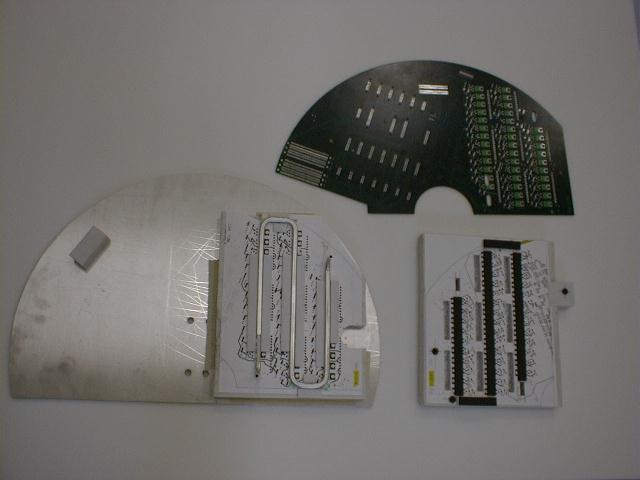
- Rebuild the bottom support jig. It is the semicircular aluminum plate with the
foam support block glued onto it. Each time, replace the block. Glue the
foam positioning strips, and place the double-side tape. Do a press-fit with
the actual mother board in order to ensure that all parts clear the strips.
Trim foam that conflicts with the fuses.
- Fit the cooling tube in the slot formed by the foam ridges. Check the fit
using a populated mother board, and also the thin aluminum endplate. They
should fit over the two ends of the tube that are sticking up. Small
adjustments are possible. Sand the surface of the tube that will contact
the board. This way, any high spots are removed, and the contact surface area
is increased. Clean the surface.
- Rebuild the top foam pressure block. Cut relief for the power connectors,
the tube ends and for the transistors that are sticking up. Do a trial fit.
- Apply the glue to the tube. This is the Melcor epoxy that comes in the
small white plastic cups with white and black metal caps and blue tape
around it. Mix 2.50g each,
this way you'll get 2 batches per pair of cups. Use the electronic scale in
the clean tent.
The glue has the consistency of dried-out peanut butter, so in the end you'll have to use a finger in order to get a neat ridge of the stuff on the center of the tube. You have just enough, not enough to drop any. - Place the tube onto the bottom support jig.
- Fit the mother board over the alignment pins and the tube ends.
- Fit the foam pressure block over the alignment pins.
- Place the clamping block (short piece of 2x6) on the yellow hatched area
and tighten the nuts..
- Turn the whole thing upside down, so that the board side of the glue
joint is down. curing time is 1 hour at 85C. At the end, leave the
circulation going, but open the door 3-4". This will gently cool of the oven
over about 1 hour.
- Sew on the reinforcing buttons, and fix them with some glue.
- Trim nylon nuts thet you removed as necessary, and screw them back on.
bigger version
ps version