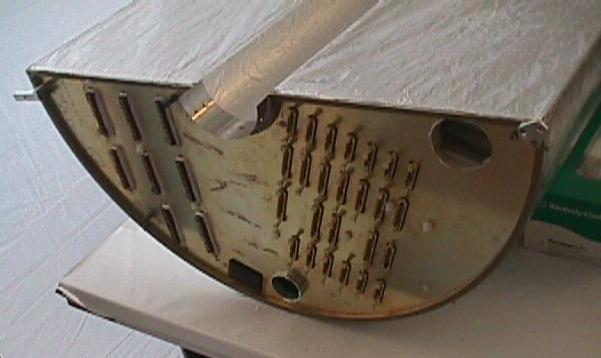
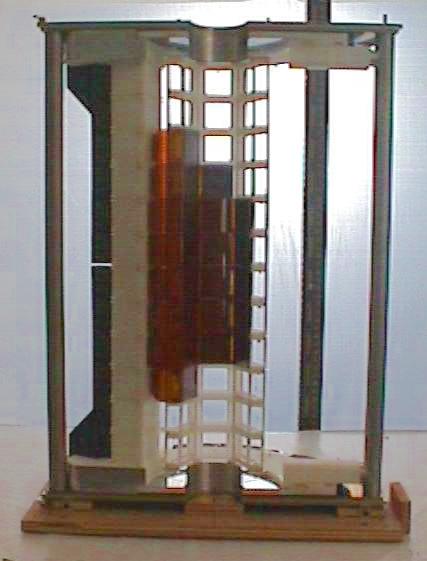
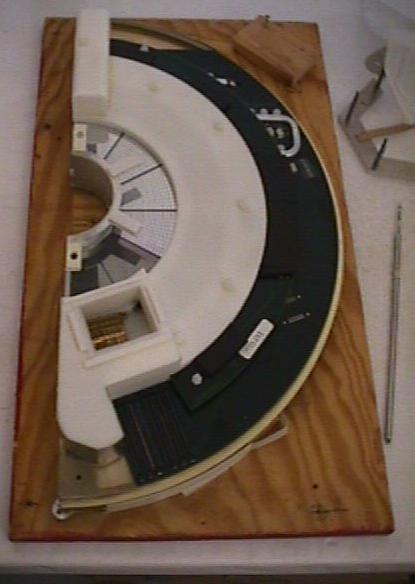
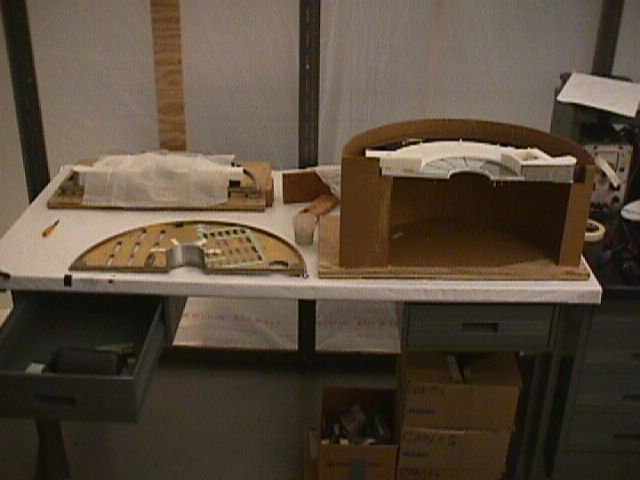
MVD East half, showing F-clamp and mount pin near top, central cuff and
hinge piece near the bottom.
- Remove outer enclosure hold-down strips
- Remove inner enclosure cuffs, put screws back in D-ring.
- Remove F-clamps.
- Remove outer neoprene gasket, loosen outer foil
- Remove inner neoprene gasket, loosen inner foil
- Remove inner enclosure.
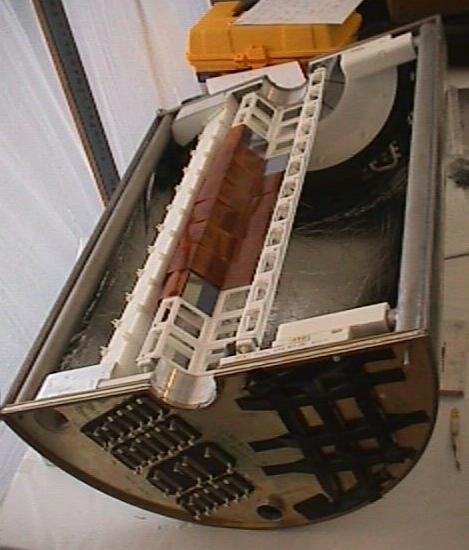
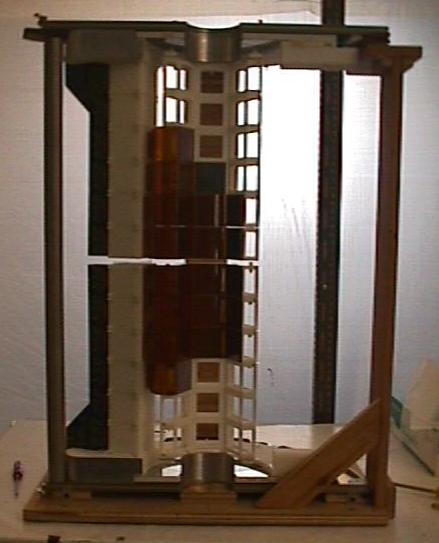
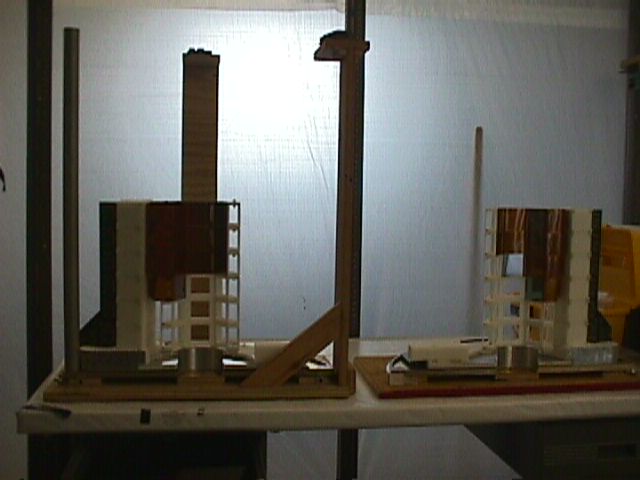
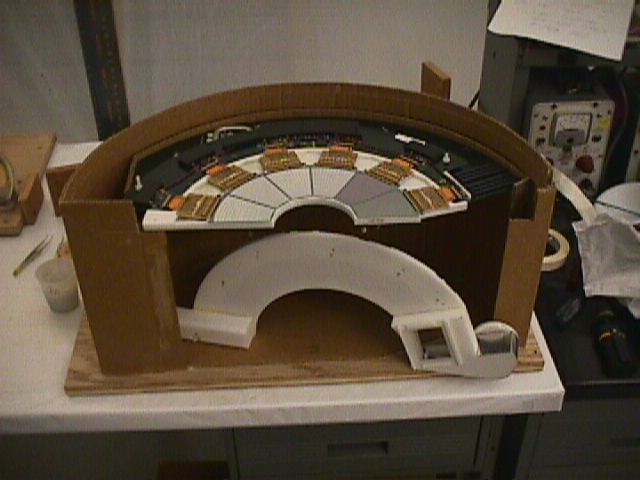
| | Inside looks good. No major delamination of foil from outer enclosure.
Sag and bow visible by eye, of order 3-6 mm at the center (with half laying on it's back).
| 
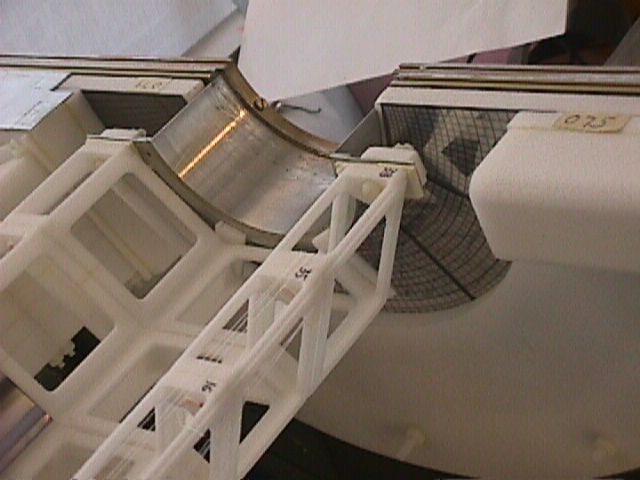
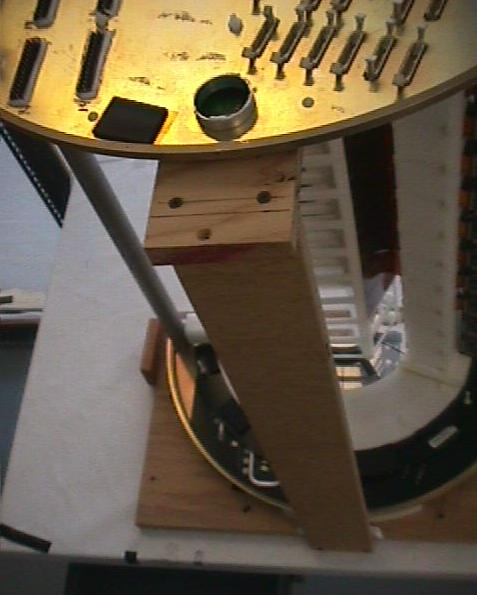
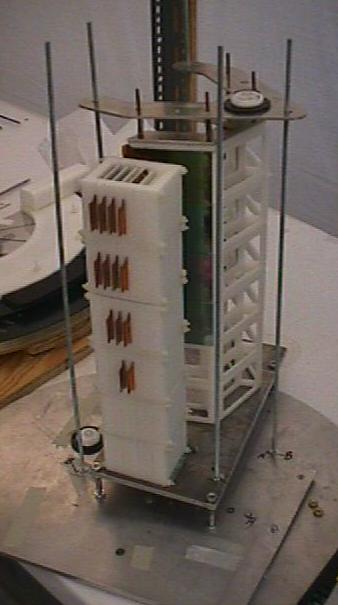
| | Detail of one of the ends. Notice the sewing thread holding the cage stack together
was left in place.
| 
|
- Remove the mounting pin that holds the upper strut to the bottom MB stack.
- Put the half onto a 'type 3' (=SE) plywood base.
| 
|
- Remove outer enclosure (marked NE and SE on inside.
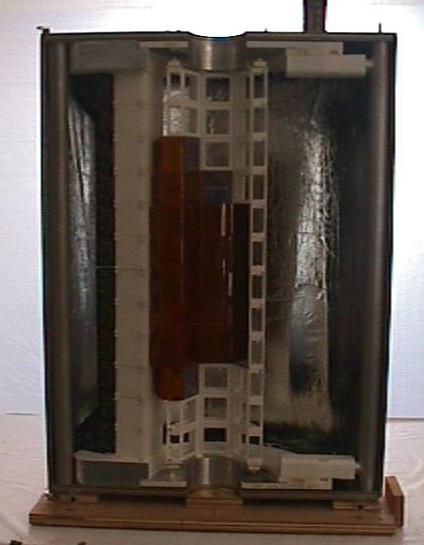
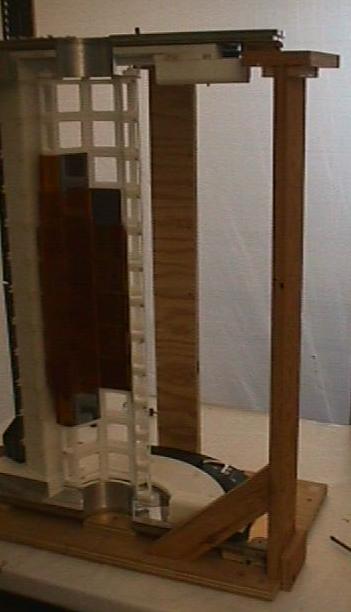
| | Mount post on backside of the plate that supports the outside of the MB stack.
Shim to lightly support the MB stack.
| 
|
- Remove screws from upper strut
- Remove upper strut
- Mount the support (squeeze fit) that holds up the bottom of the MB stack.
- Remove screw from lower strut.
| |
Shim up the top MB stack at the 3 support points: the lower strut, and the back and bottom
support posts. This will separate the 2 quarters. Make sure the straws and the plenum mylar
strip are loose.
| 
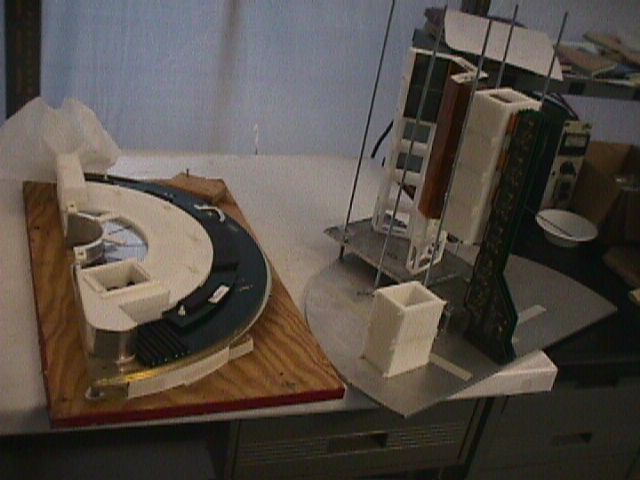
| | Separate the 2 halves, and place on 2nd plywood base (type 4).
Practice the grip and twist first.
| 
|
- Remove the nylon screws between the 'wings' and C-cage #1. Protect pads with
tissue paper.
- Remove bottom straws to free up cages from wings.
- Gently pry loose the connectors with a screwdriver, and lift the stack out onto the
metal mounting fixture, which is configured for 'B'.
|
Now disassemble the NE quarter:
- Place pressure fixture on the cages to stabilize them.
- Unclip ZIF connectors using the special tool, and remove the Power/Comm boards.
Pack and label SE - IT, IM, IB, and OB.
| 
|
- Cut sewing thread holding cages and plenum together.
- Remove the pressure fixture.
- Use the spacial staw tool to push down straws. Lift off cage,
watch where the plenum mylar strip goes.
- Pack up cages, collect straws, mylar plenum strips and mylar
plenum shims at the bottom of the stack.
- What's left is the NE MB stack.
| 
|
Now disassemble the NE MB stack:
- Place stack upside-down onto the high carboard jig - secure with masking tape.
- Remove RTV from LV connectors and water tube.
- remove the 6 nylon screws that go to the MB spacers
- Turn stack over onto the other cardboard jig
- remove all nuts from the bottom (endplate side), close all connector wings
- Lay the stack onto the table, and lif the MB off the endplate; the MB goes onto
the lower edge of the cardboard jig.
-
| 
|
- remove nuts on the top of the plenum cover (labeled A-F). For A (on the air pipe),
also remove the big spacer nut on the underside.
- Lift off the plenum cover
| 
|
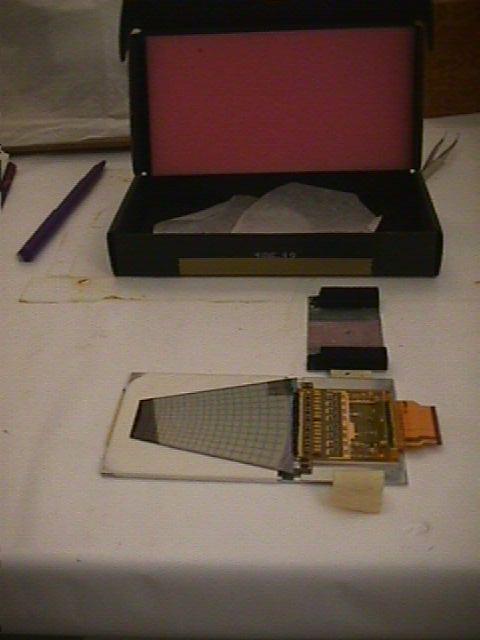
Open the ZIF connector and lift out the pad detector assemblies. Store in the special holders and boxes
that Toshi made for them
| 
| | | | |