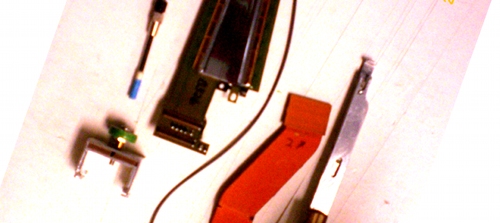
Locate the special tools and components that you may need:
http://www.phenix.bnl.gov/WWW/fvtx/BNLAssembly/tools/tools.html
- Hook up the ROC and run a calibration to see the bad wedge
- Disconnect the extension cable from the ROC, using the pair of levers (picture 2 on the tools page)
- Run the calibration again, to verify you got the bad wedge.
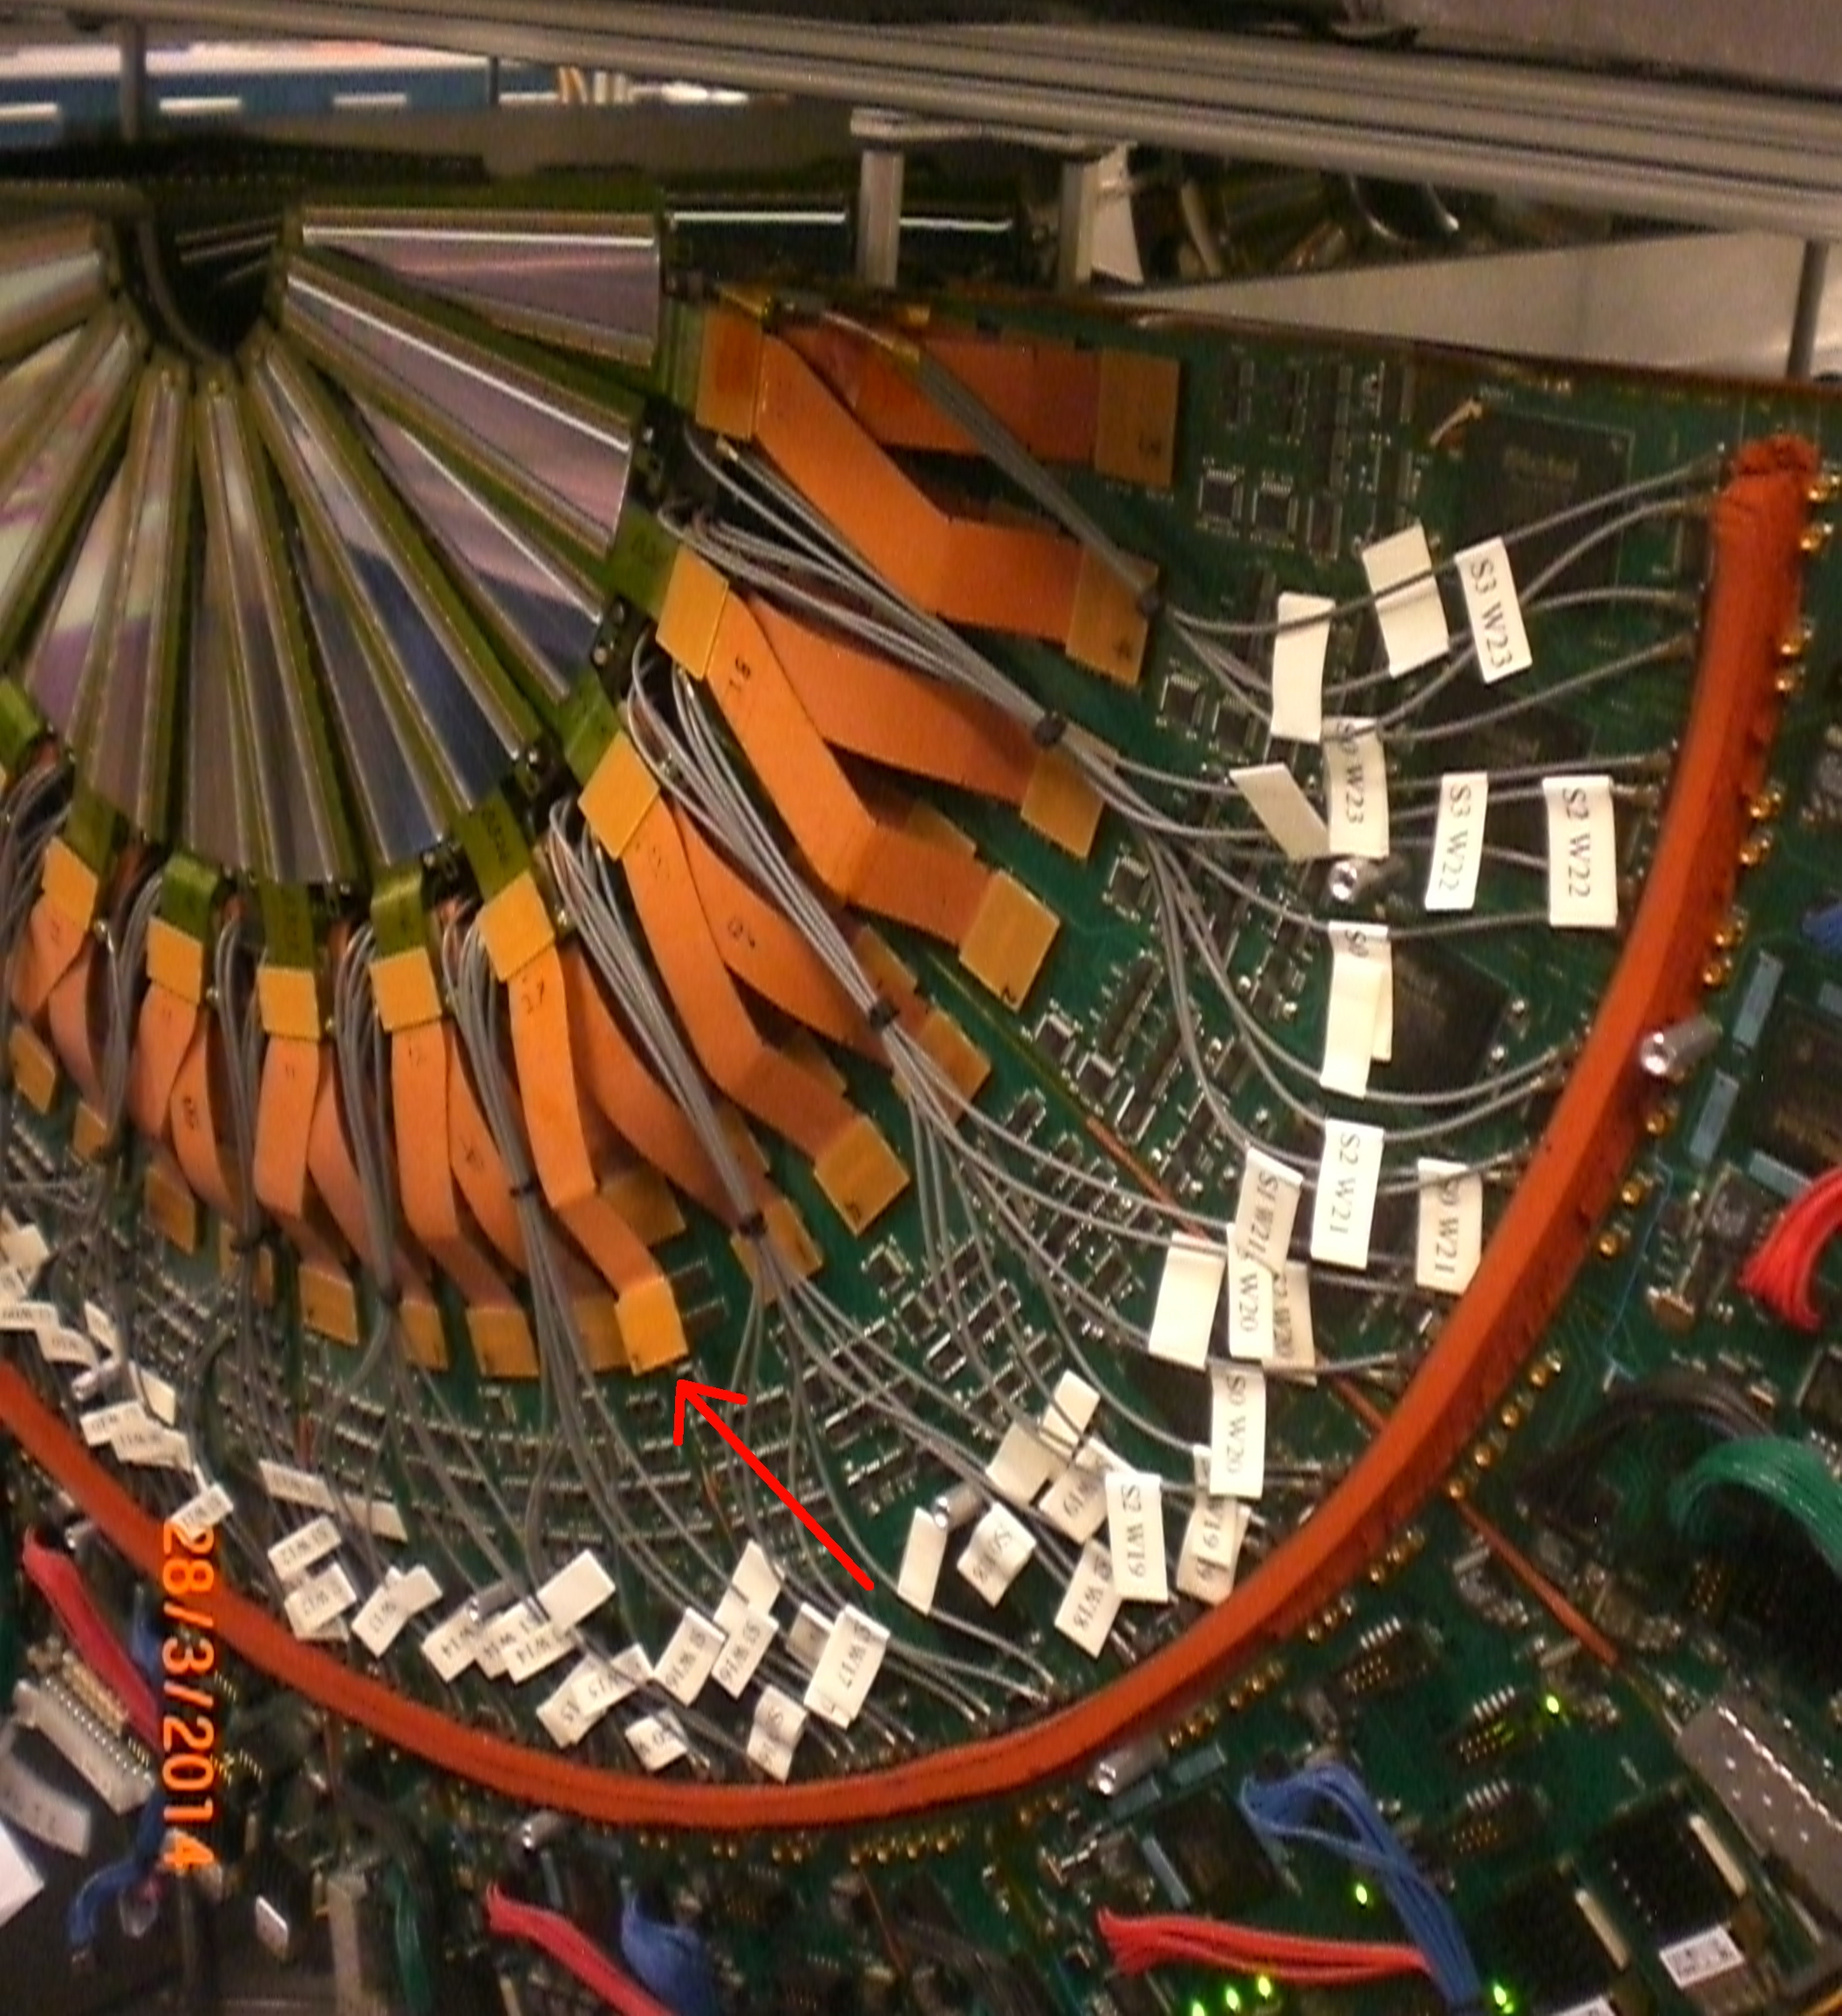
- Disconnect the bias cable from the ROC board, and cut the cable tie that bundles 8 bias cables together.
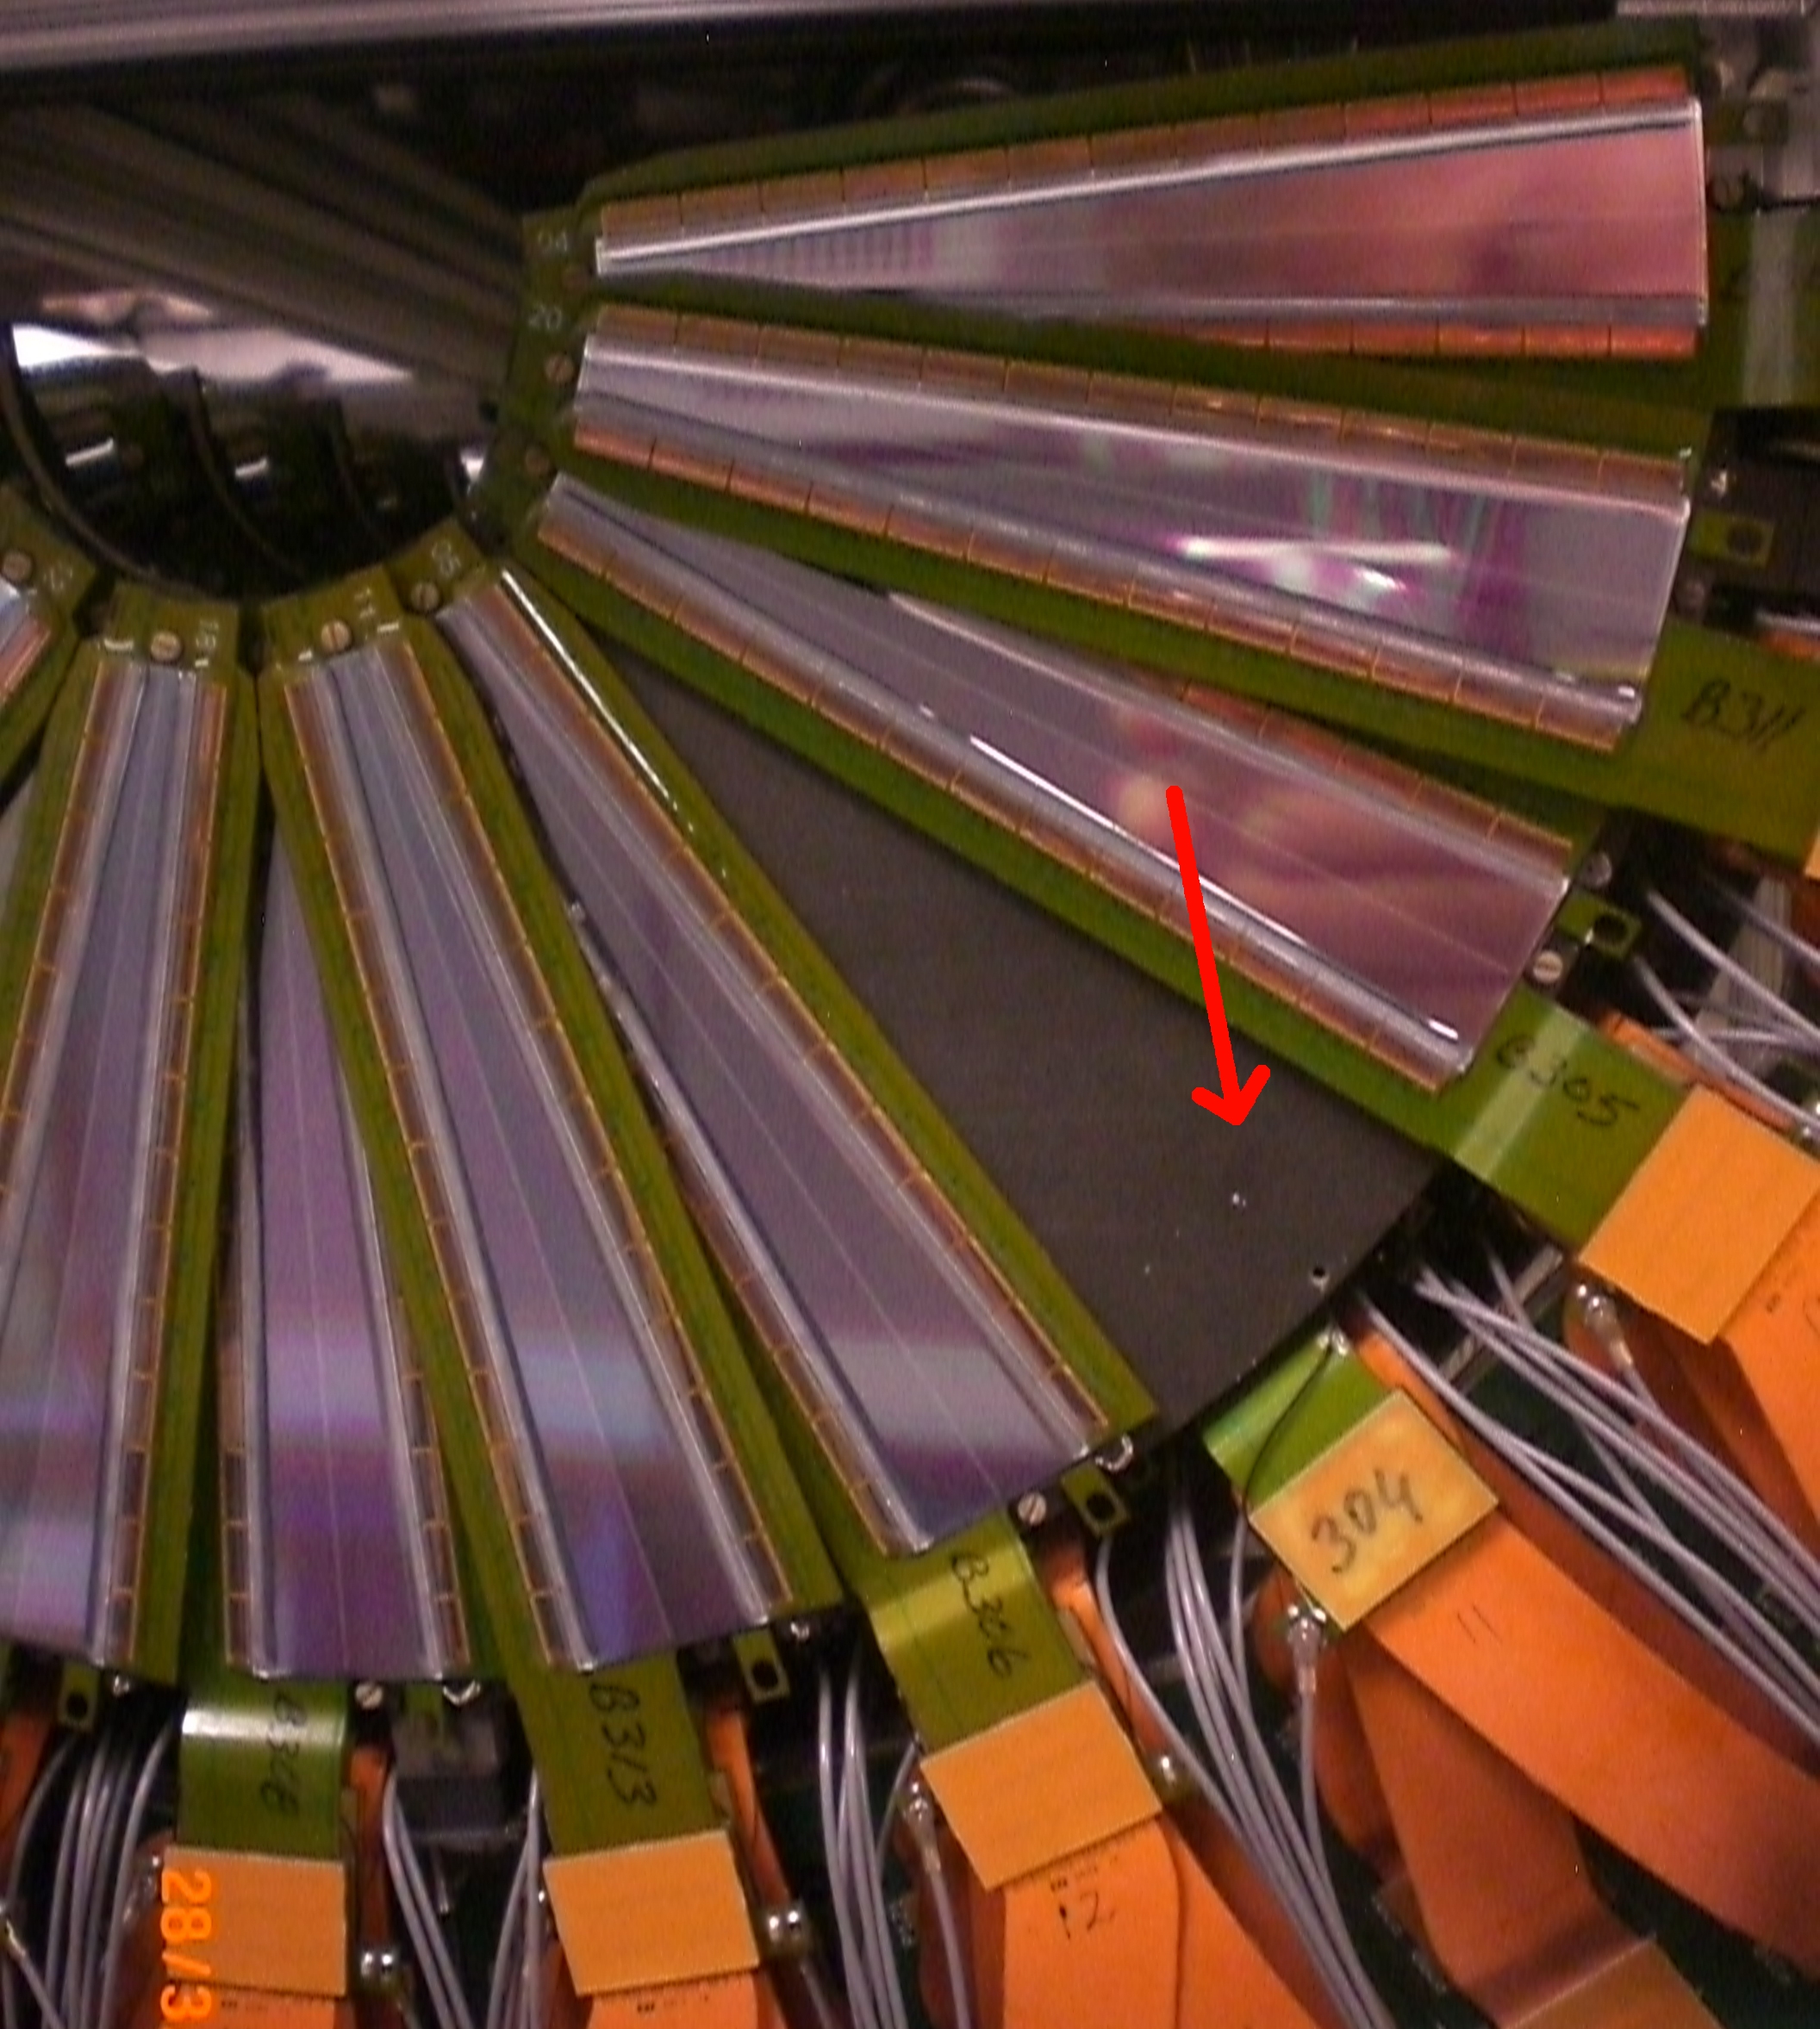
- Remove 2 screws that hold the wedge, using the torque-limited screwdriver with the blue shrink tubing on the tip. The tubing prevents the screw from falling. The thermal grease will not hold the wedge. Lift off the wedge.
- On the bench, disconnect the extension cable from the wedge, using the special tool (picture 3,4). Note there are different versions of this tool.
- Disconnect the bias cable from the wedge, using tool from picture 7.
- Clean the thermal grease from the disk with a q-tip (dry), if there is any.

Prepare a new wedge:
- Select a new wedge. Look here and look for 'unussigned wedges'.
- Bend the HDI. Bending (1) (2) (3) (4) (5) (6) has to be done before attaching the pedestals
- Attach graphite pedestals: Here are the jigs and instructions for attaching the pedestals
- Attach a grounding wire
(3) Grounding wire: see- http://www.phenix.bnl.gov/WWW/fvtx/BNLAssembly/wedge_grounding.html
- http://www.phenix.bnl.gov/WWW/fvtx/pictures/bnl_pic_Nov2010/injectwire/index.html
- and pictures 83-86 on this page: http://www.phenix.bnl.gov/WWW/fvtx/DetectorHardware/Assembly/pictures/RAW_BNL/index.html.
- When I made these, I pre-bent the wires to follow the edge of the HDI, so they don't get snagged later.
- make sure you have the right solder, and use very little of it.
- Silver epoxy the other end of the ground wire into the hole
- fix the wire in a few places with a few drops of hot glue.

Mounting the new wedge: - Test the new wedge
- Connect the extension cable to the wedge
- Connect the bias cable (tool 5 or 6)
- Apply a SMALL amount of grease to the feet. This stuff does not squeeze out like glue.
- Apply a small amount of grease to the disk. Note in the photo, there is almost no trace of the white thermal grease on the disk. So I rubbed some on the disk. You can only do this on the big end.
- Screw down the wedge, using the torque-limited screwdriver
- Connect the extension cable to the ROC
- Connect the bias cable to the ROC, and re-tie the bundle
- Do a calibration to see that the new wedge is there.