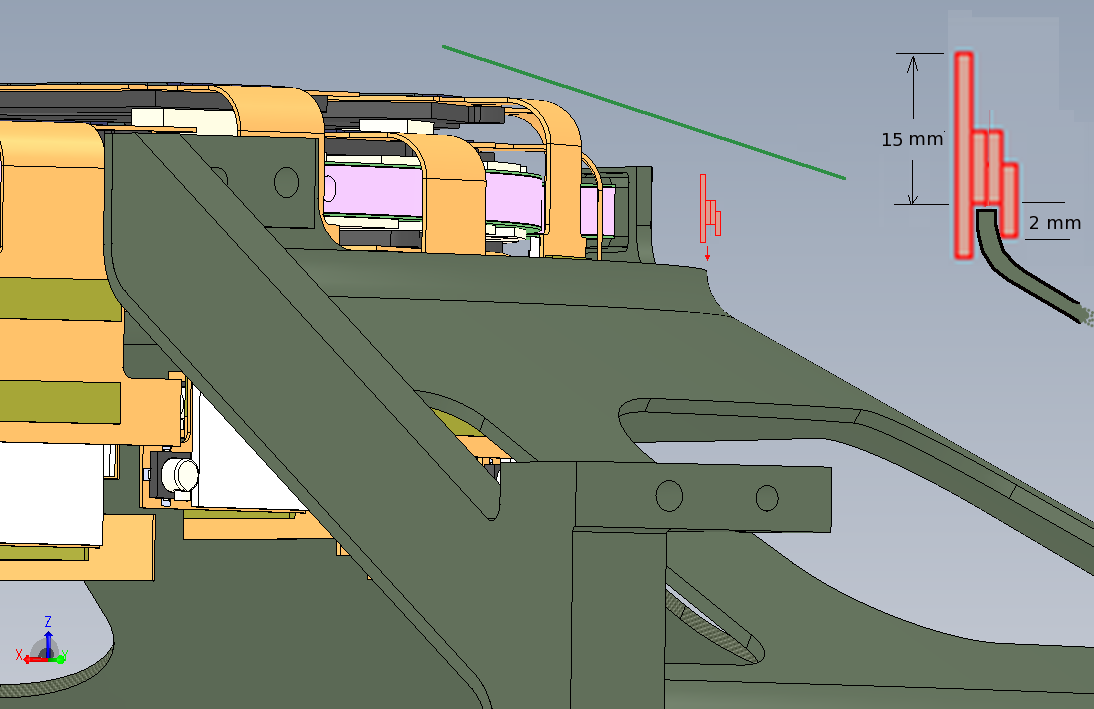
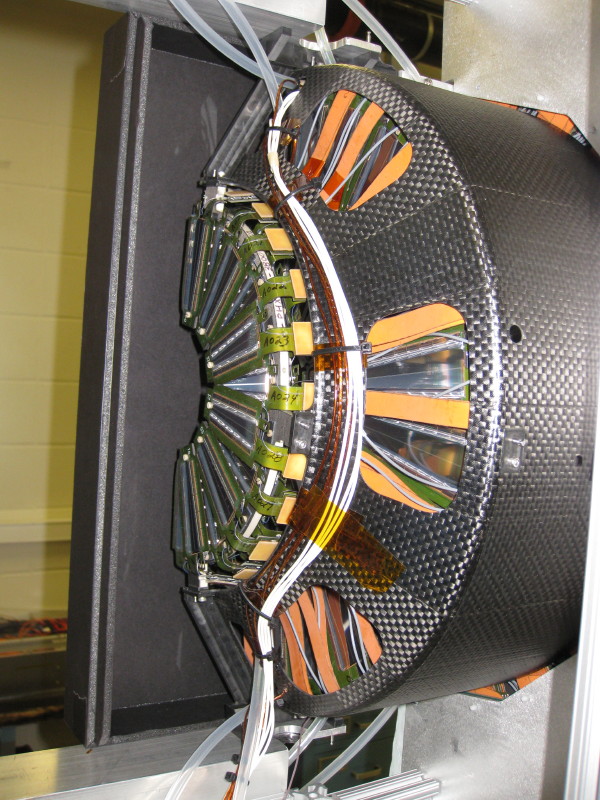
| The VTX cables need to be gently pushed out of the way of the
Station-0 components.
See this ppt from Walt
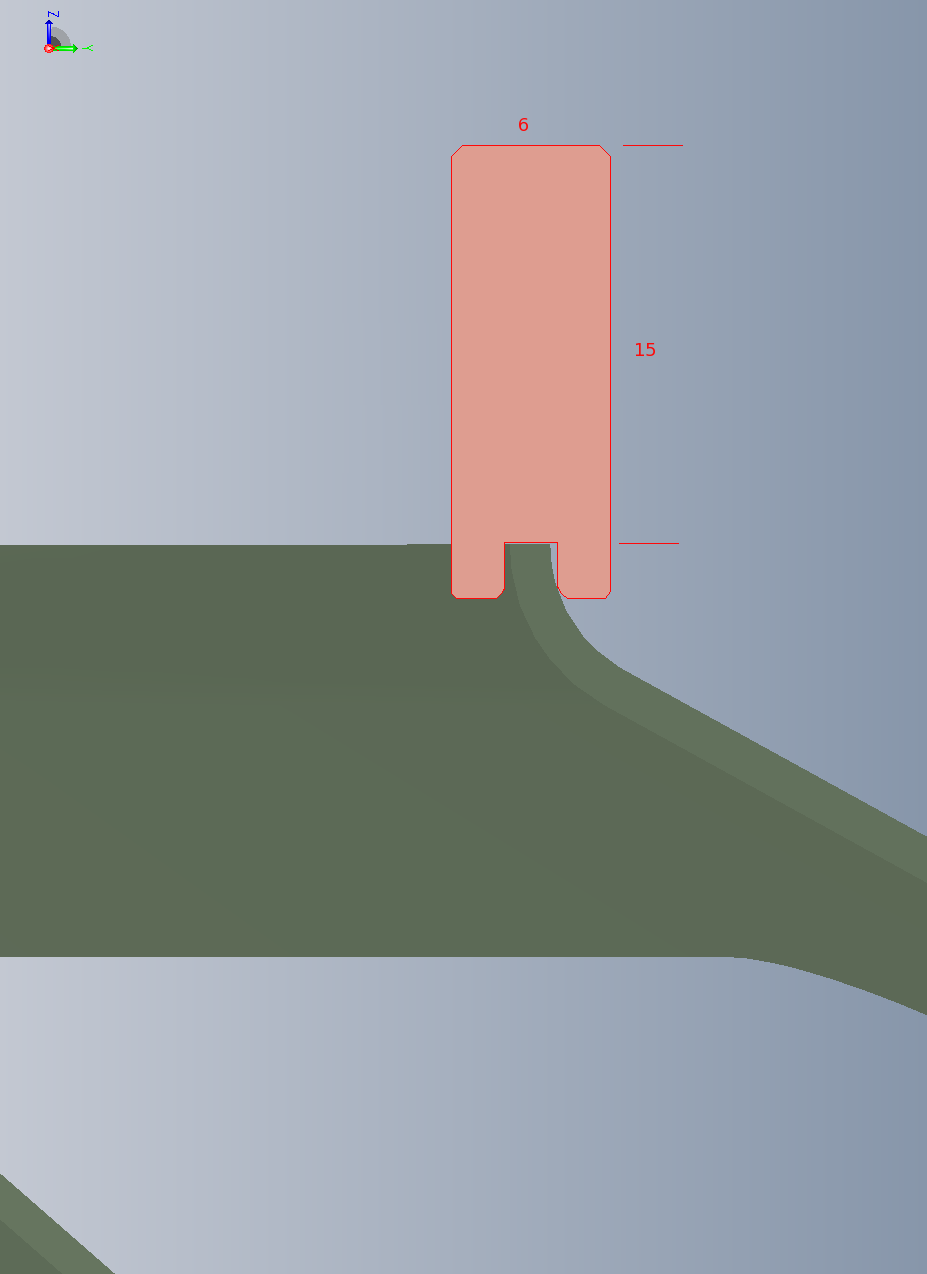
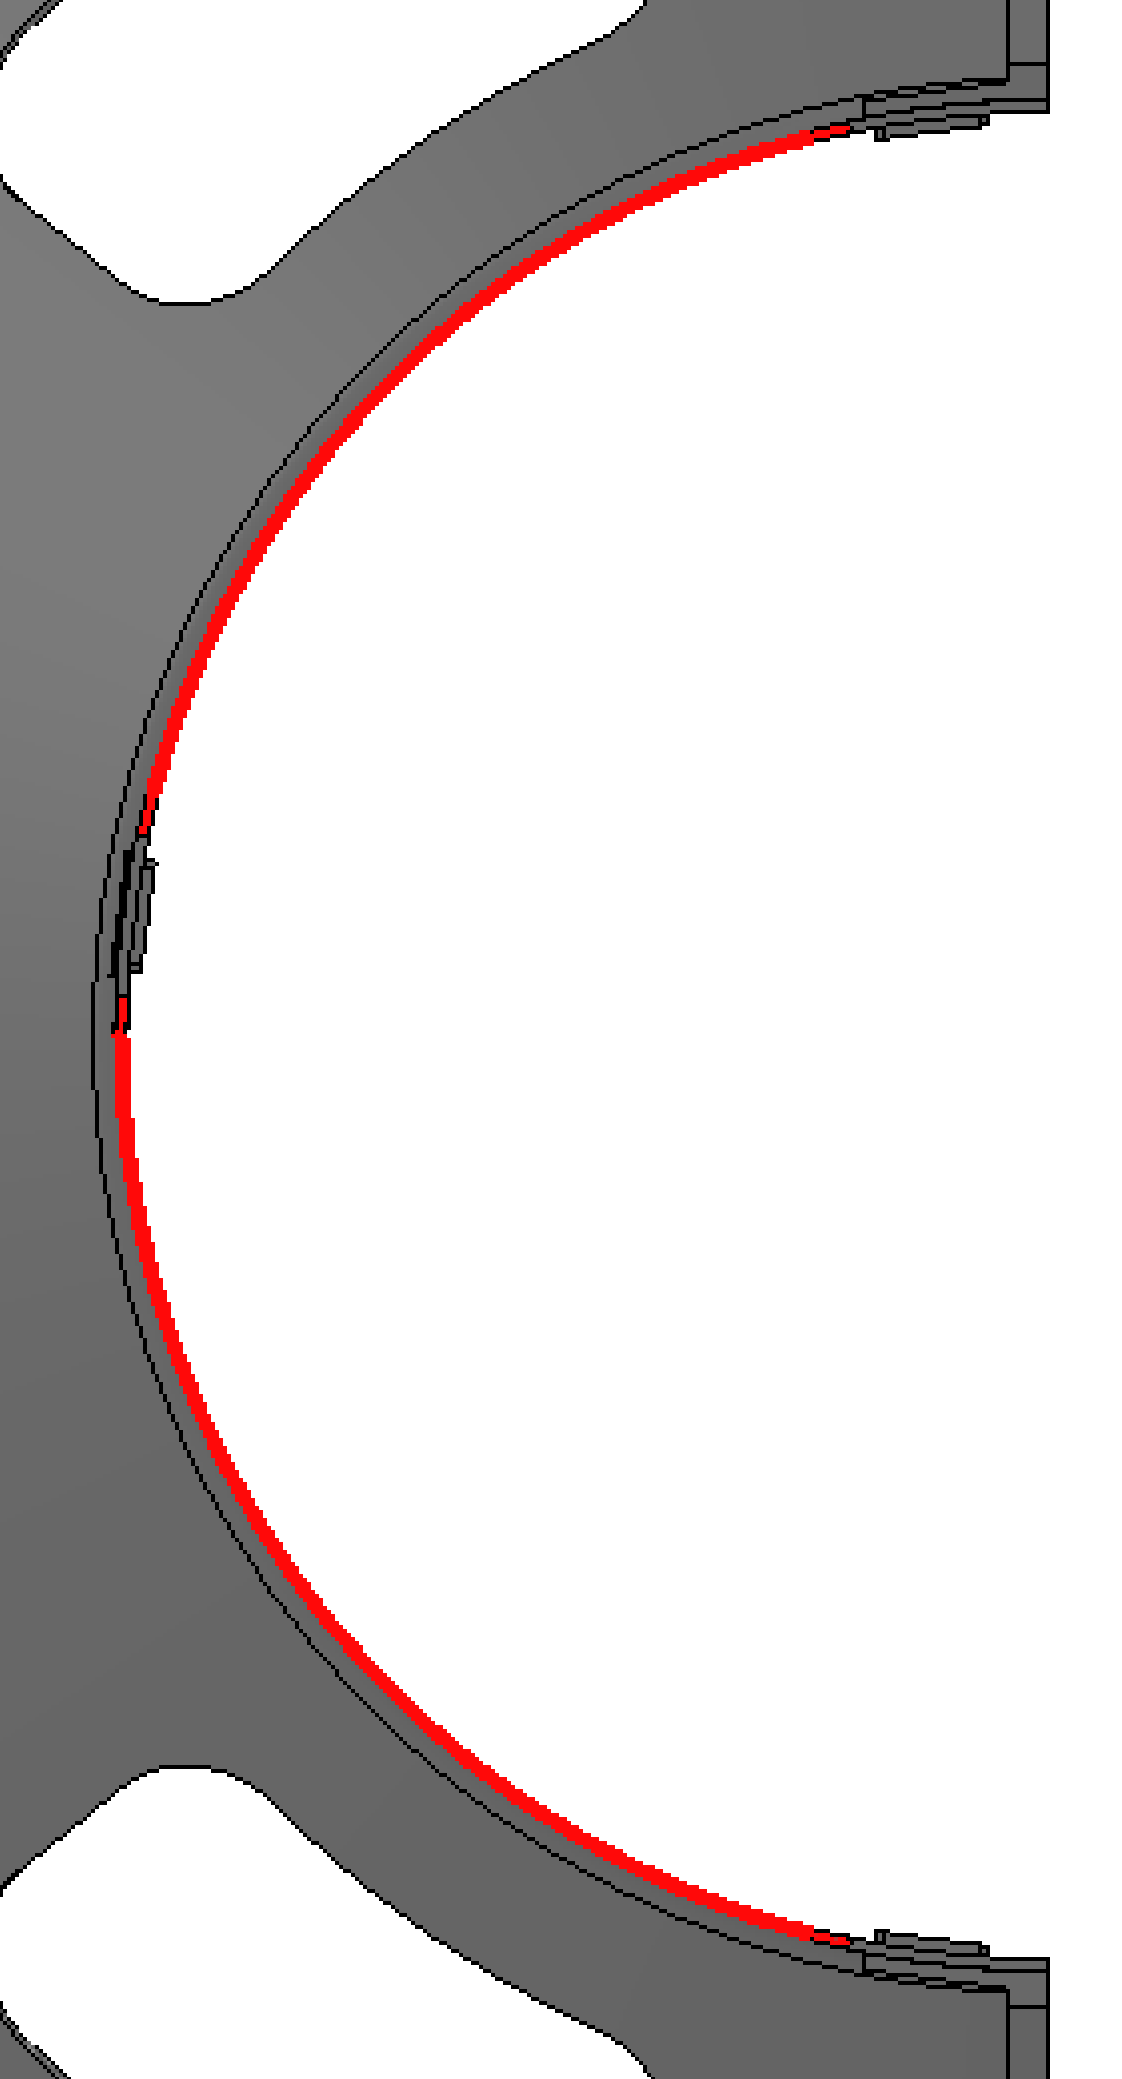
The cables pass by this location at a shallow angle
(green line), so that the point of contact would be where the HDI makes the
90° bend. The distance from the front lip of the cage to the front
surface of the tall-pedestal wedges is 16.5 mm. Therefore if we can extend the
lip by 15 mm, station 0 is fully protected.
| 
|
|
Some judicious use of a sharp blade trims the ring pieces so that they
fit between the mounting tabs. You could print a 1:1 copy of the cage lip
and fit the sections to the drawing. (Note there are little curves at the bottom
of the mounting tabs).
There are 2 sections that fit on the lip between the station-1
mounting tabs. Tape with Kapton to the cage. One section shown.
| 
|
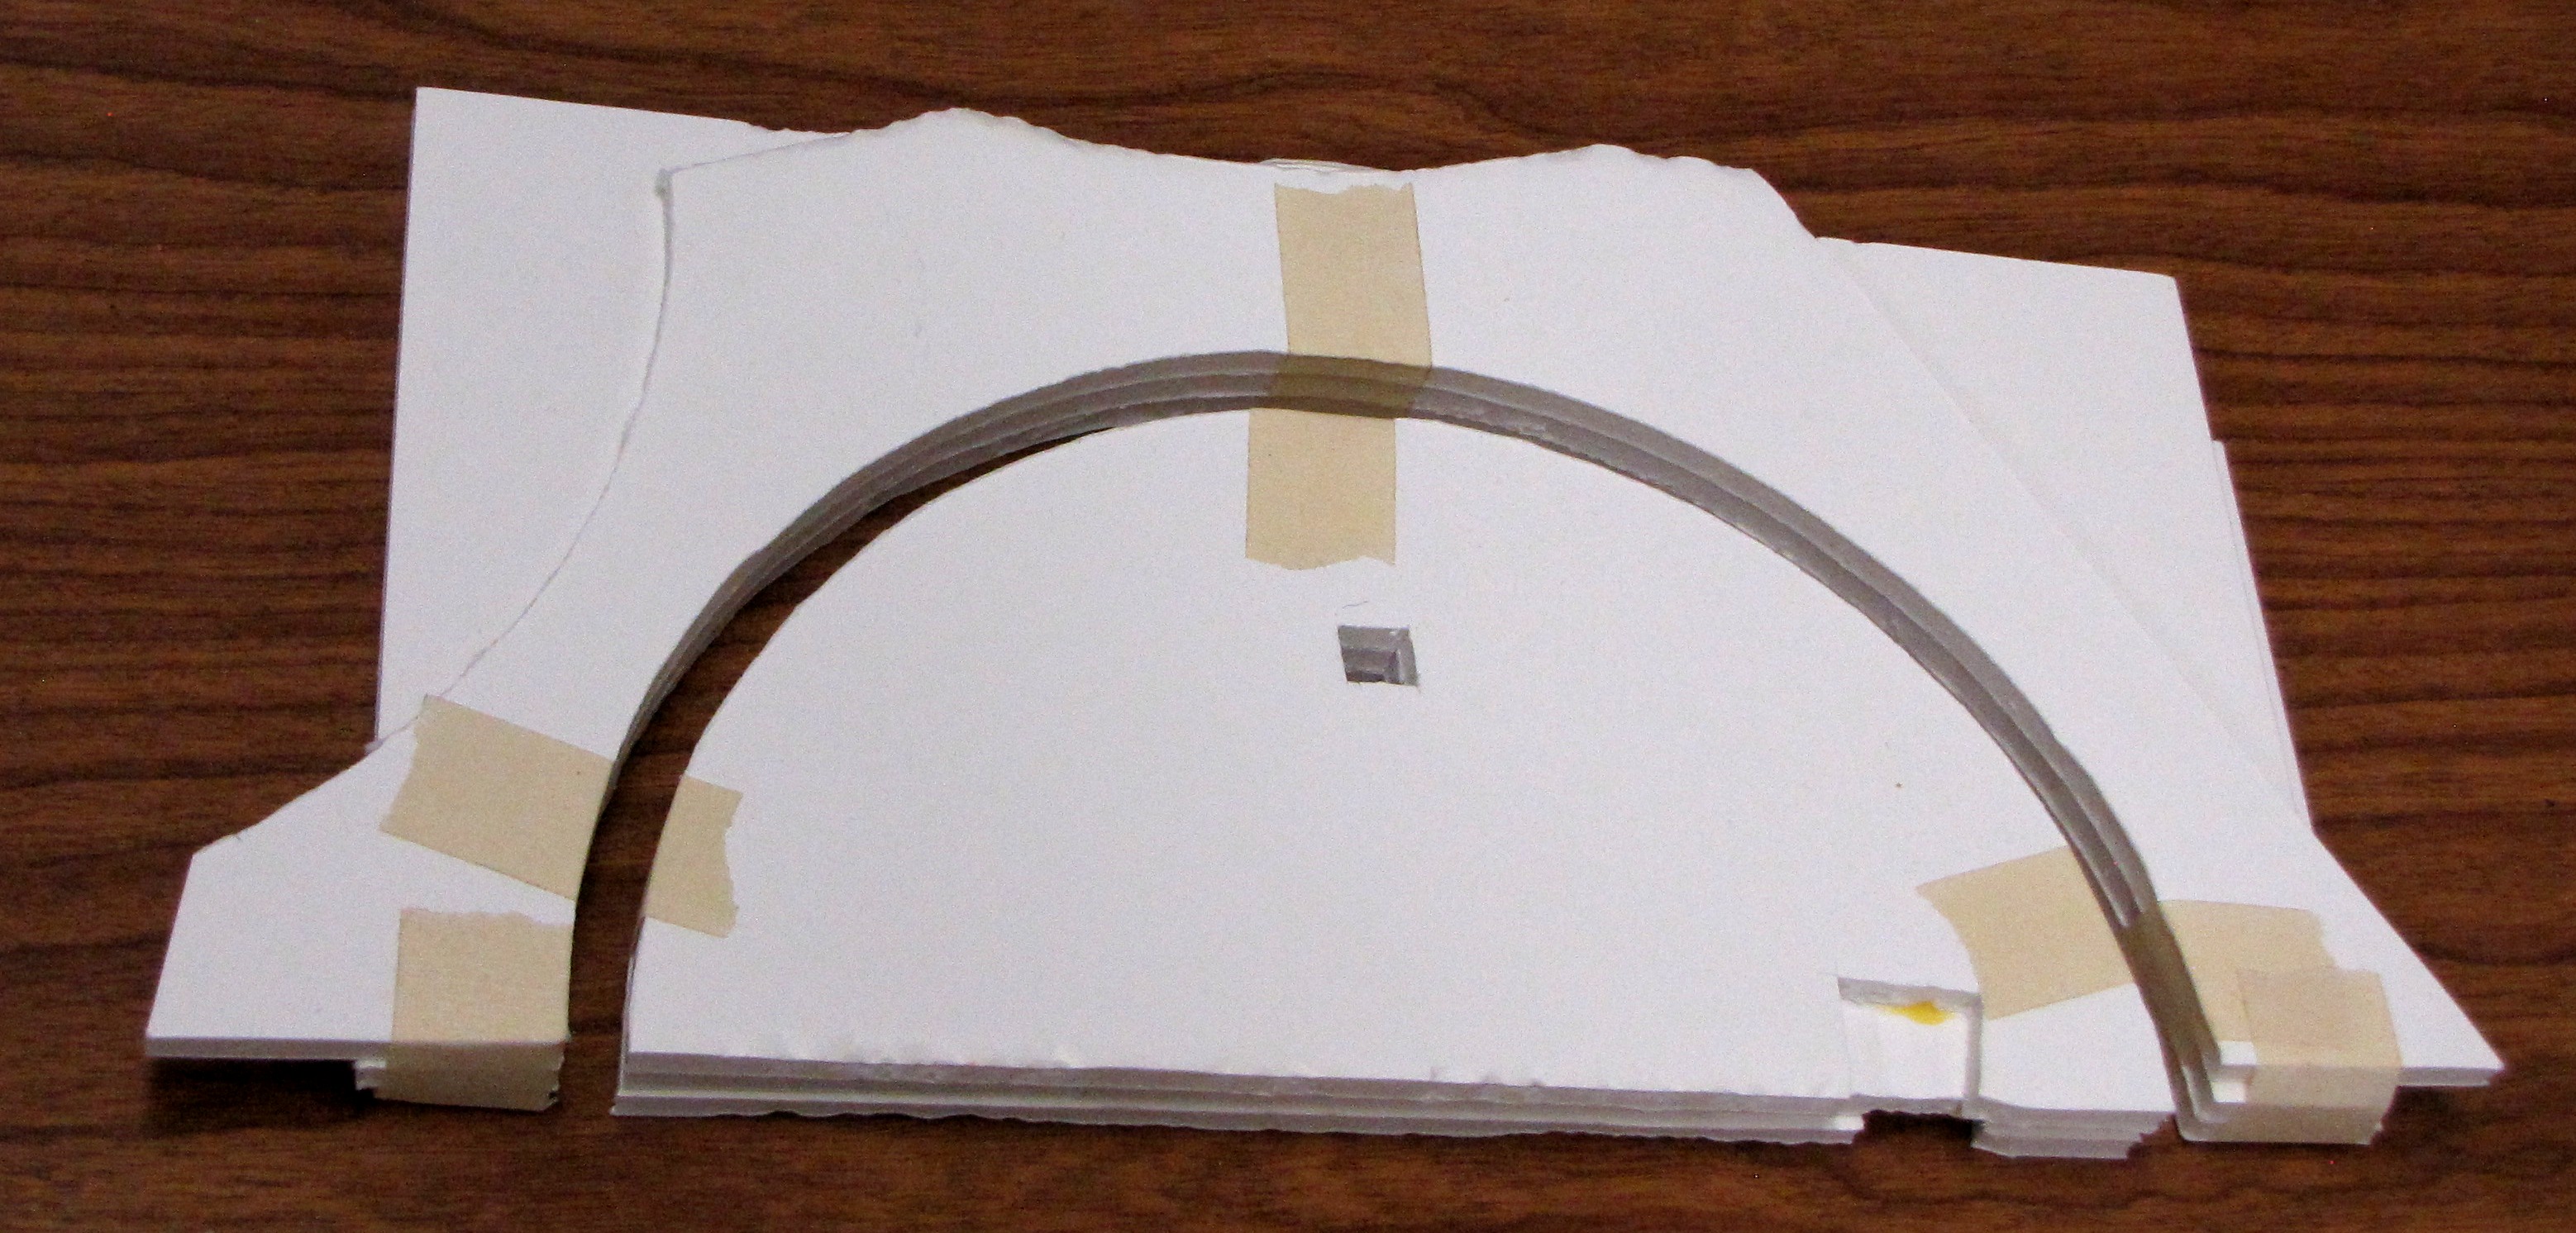
| This is a mockup of the front of the cage, with the three
station-0 mounting tabs. One ring section is in place. It effectively
brings the cage lip forward by 15 mm.
| 
|
| The detail is a bottom view, showing the groove and the rounded
corner.
| 
|
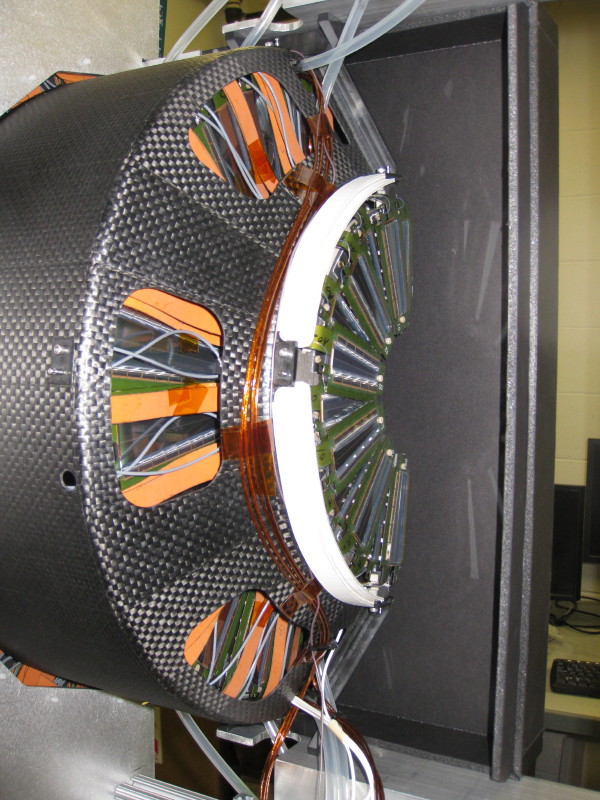
Rings installed on the SW cage
(SW cage without rings)
| 
|
Rings installed on the NW cage
(NW cage without rings)
| 
|
How these are made:
- Out of foam core board, cut 2 semicircles with a radius of 115 mm
and stack them.
- Cut 4 strips of posterboard. These sheets are 1.5 mm thick.
The cage lip is 1.5 mm thick. Before you
lay out the strips, choose the direction in which the cardboard bends
easily - it's like wood: one direction is easier.
The inner strip is 20.0 mm wide, the others can be 10.0 mm wide each.
- On the wide strip, mark a line at 15.0 mm from one edge. On one of the
narrow strips, mark a line at 2.0 mm from one edge.
- Pre-bend the strips by running them over the edge of the table.
- Bend the wide strip around the
foam-core half-disk, hold it in place with masking tape.
- Glue on one of the 10mm strips, along the 15-mm line. Hold in place
with masking tape.
- Glue the second strip, with the 2 mm mark, over the first one.
- The remaining 10 mm strip is the one that overhangs the cage lip.
Since the carbon curves away immediately, this overhang should be small,
2 mm should be fine. Glue along the pencil line and tape.
- Out of this semicircle cut the 2 sections. Allow for for overlaps,
curves etc.
Rohacell
Turns out, the cardboard is not an allowed material in the IR, so
I made another set out of Rohacell. I still had about 200 sqft of 6 mm thick
Rohacell sheets left over from the MVD days, plus
detailed instructions on how to thermoform the stuff. Here is the short version:
|
- I made a mold out of 3 layers of foam-core, such that there is an 8 mm gap with radii
95 and 103 mm. This allows for a 10% increase in radius (springback) when you take
the formed Rohacell out of the mold.
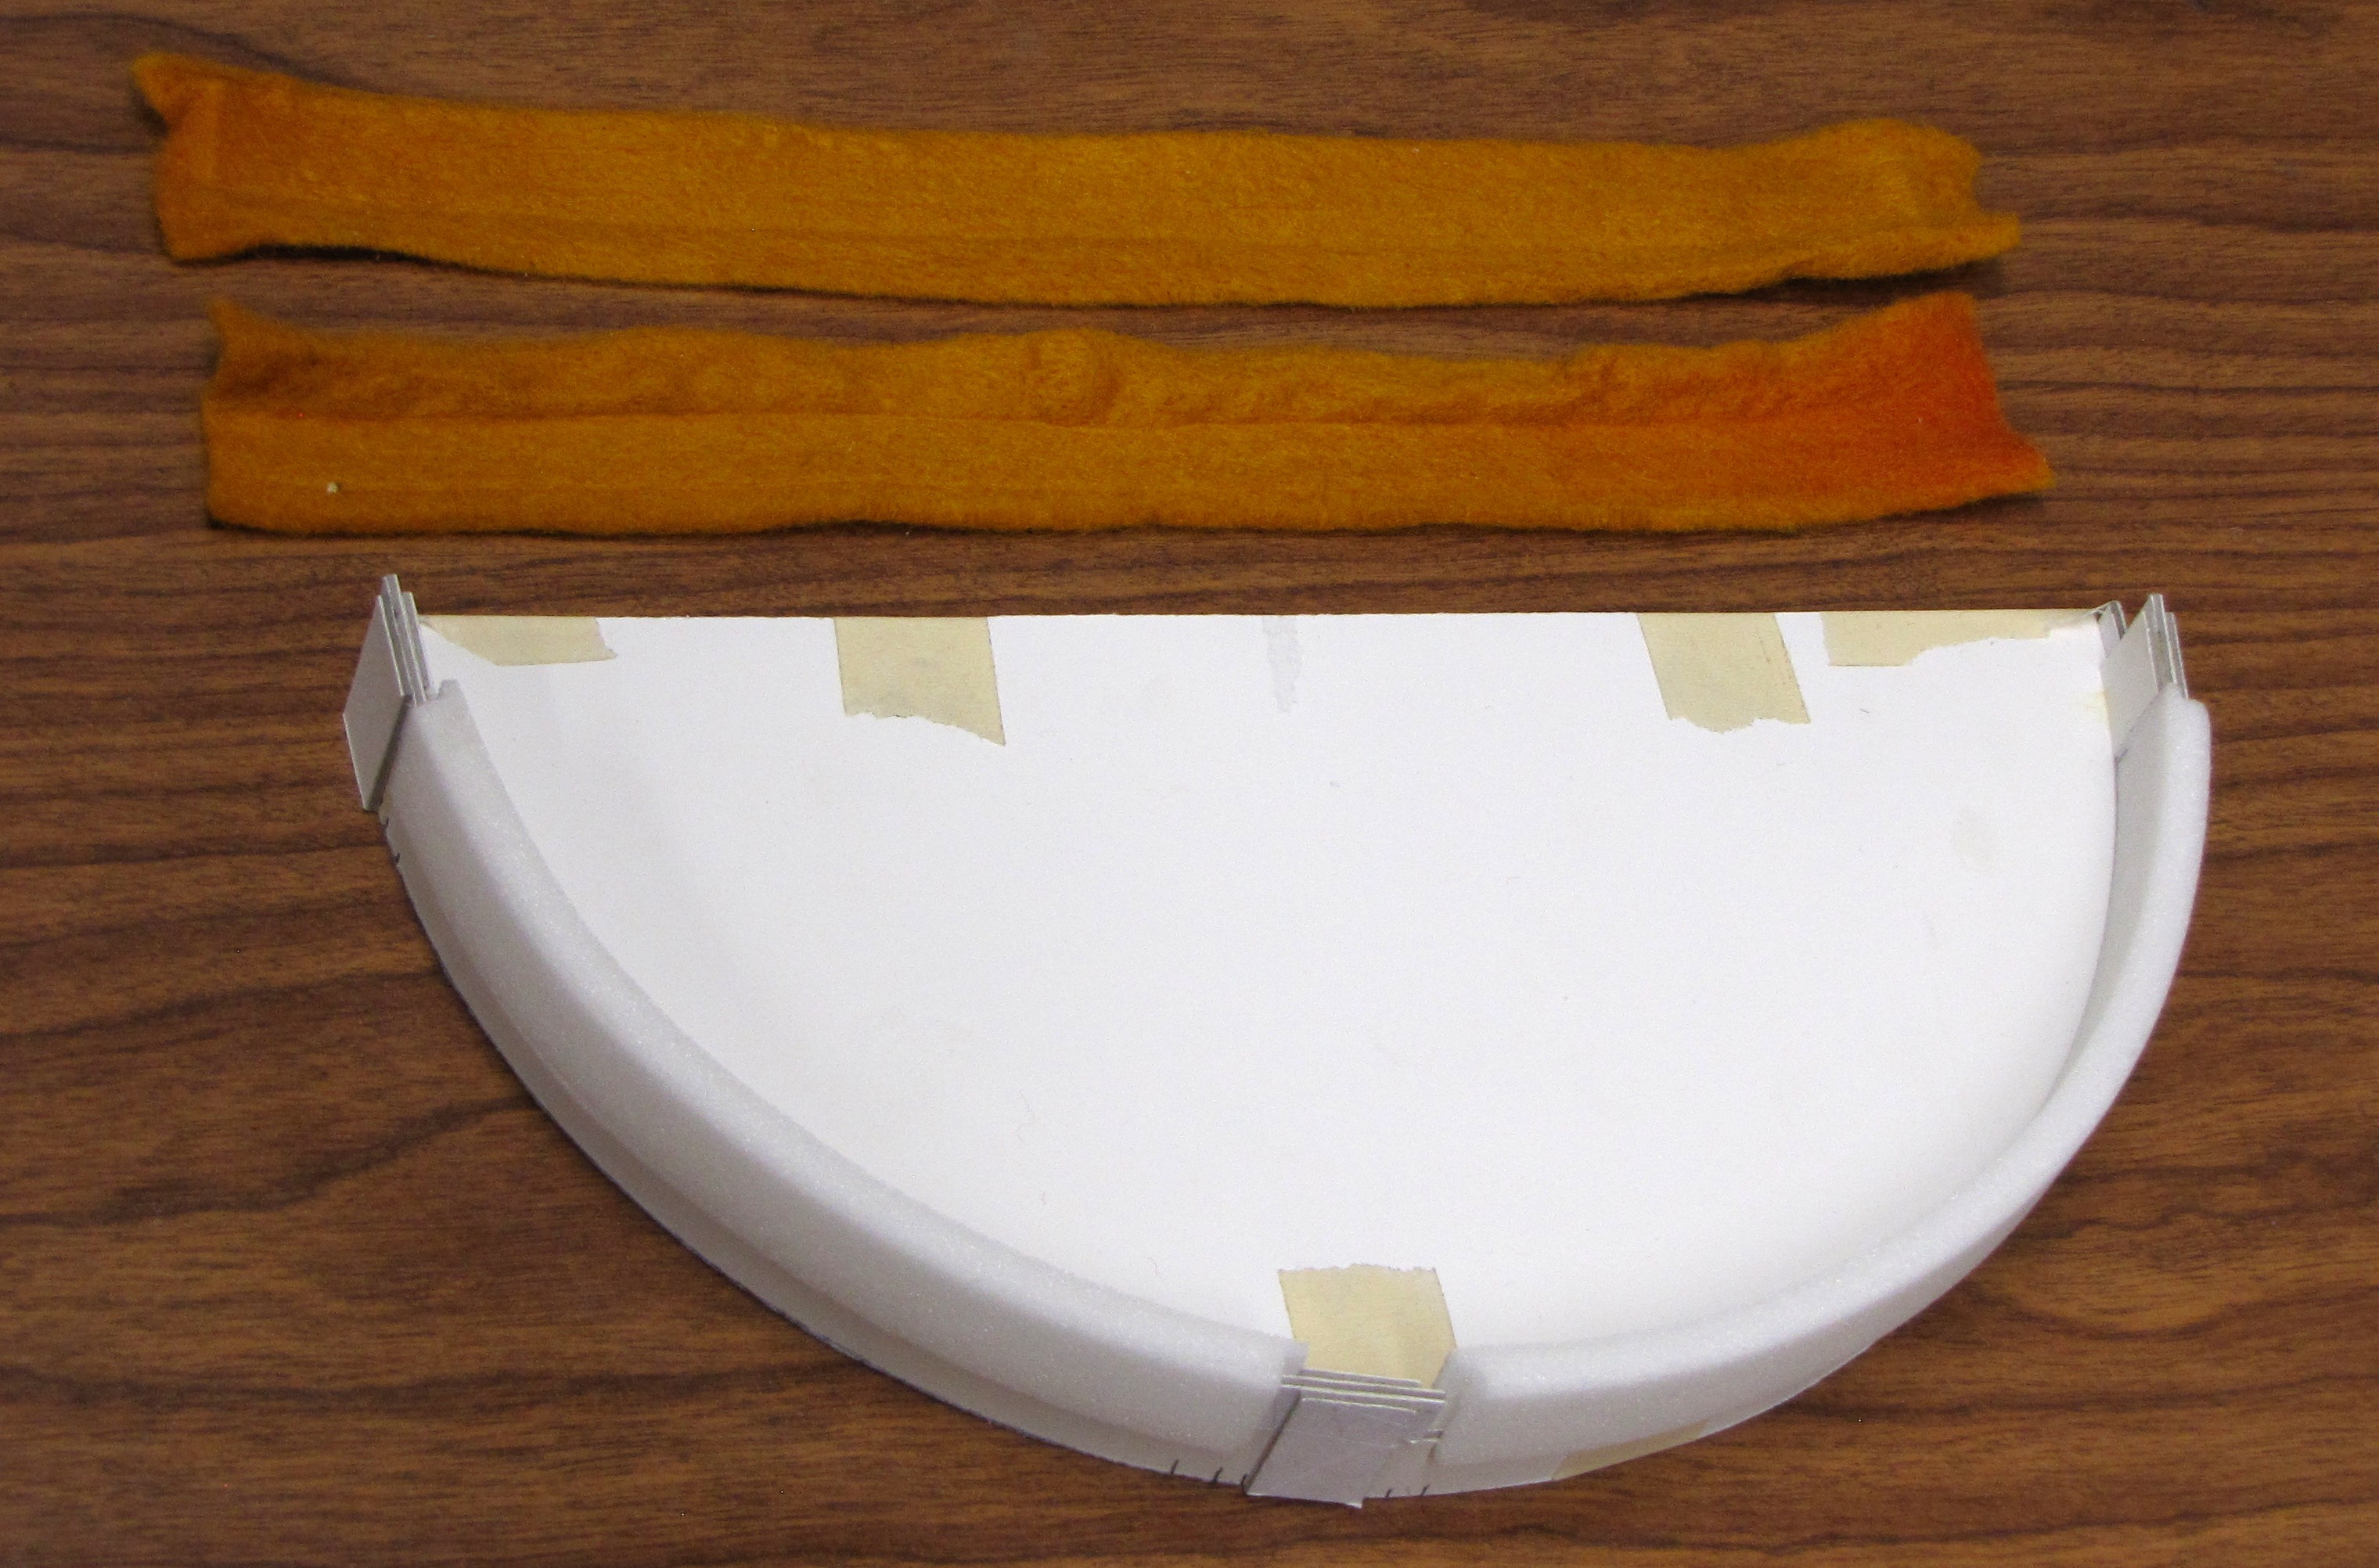
- Cut 8 2.5×18 cm strips of 6 mm Rohacell. Both dimensions are oversized.
- Cut strips of felt, bigger than the Rohacell.
- In a 200°F oven, dry the strips. Place them on a cooling rack, not a cookie sheet,
so there is air circulation around all surfaces. About 15-30 minutes, could be much
longer. Store in a ziploc bag.
- Raise the oven temperature to 325°F.
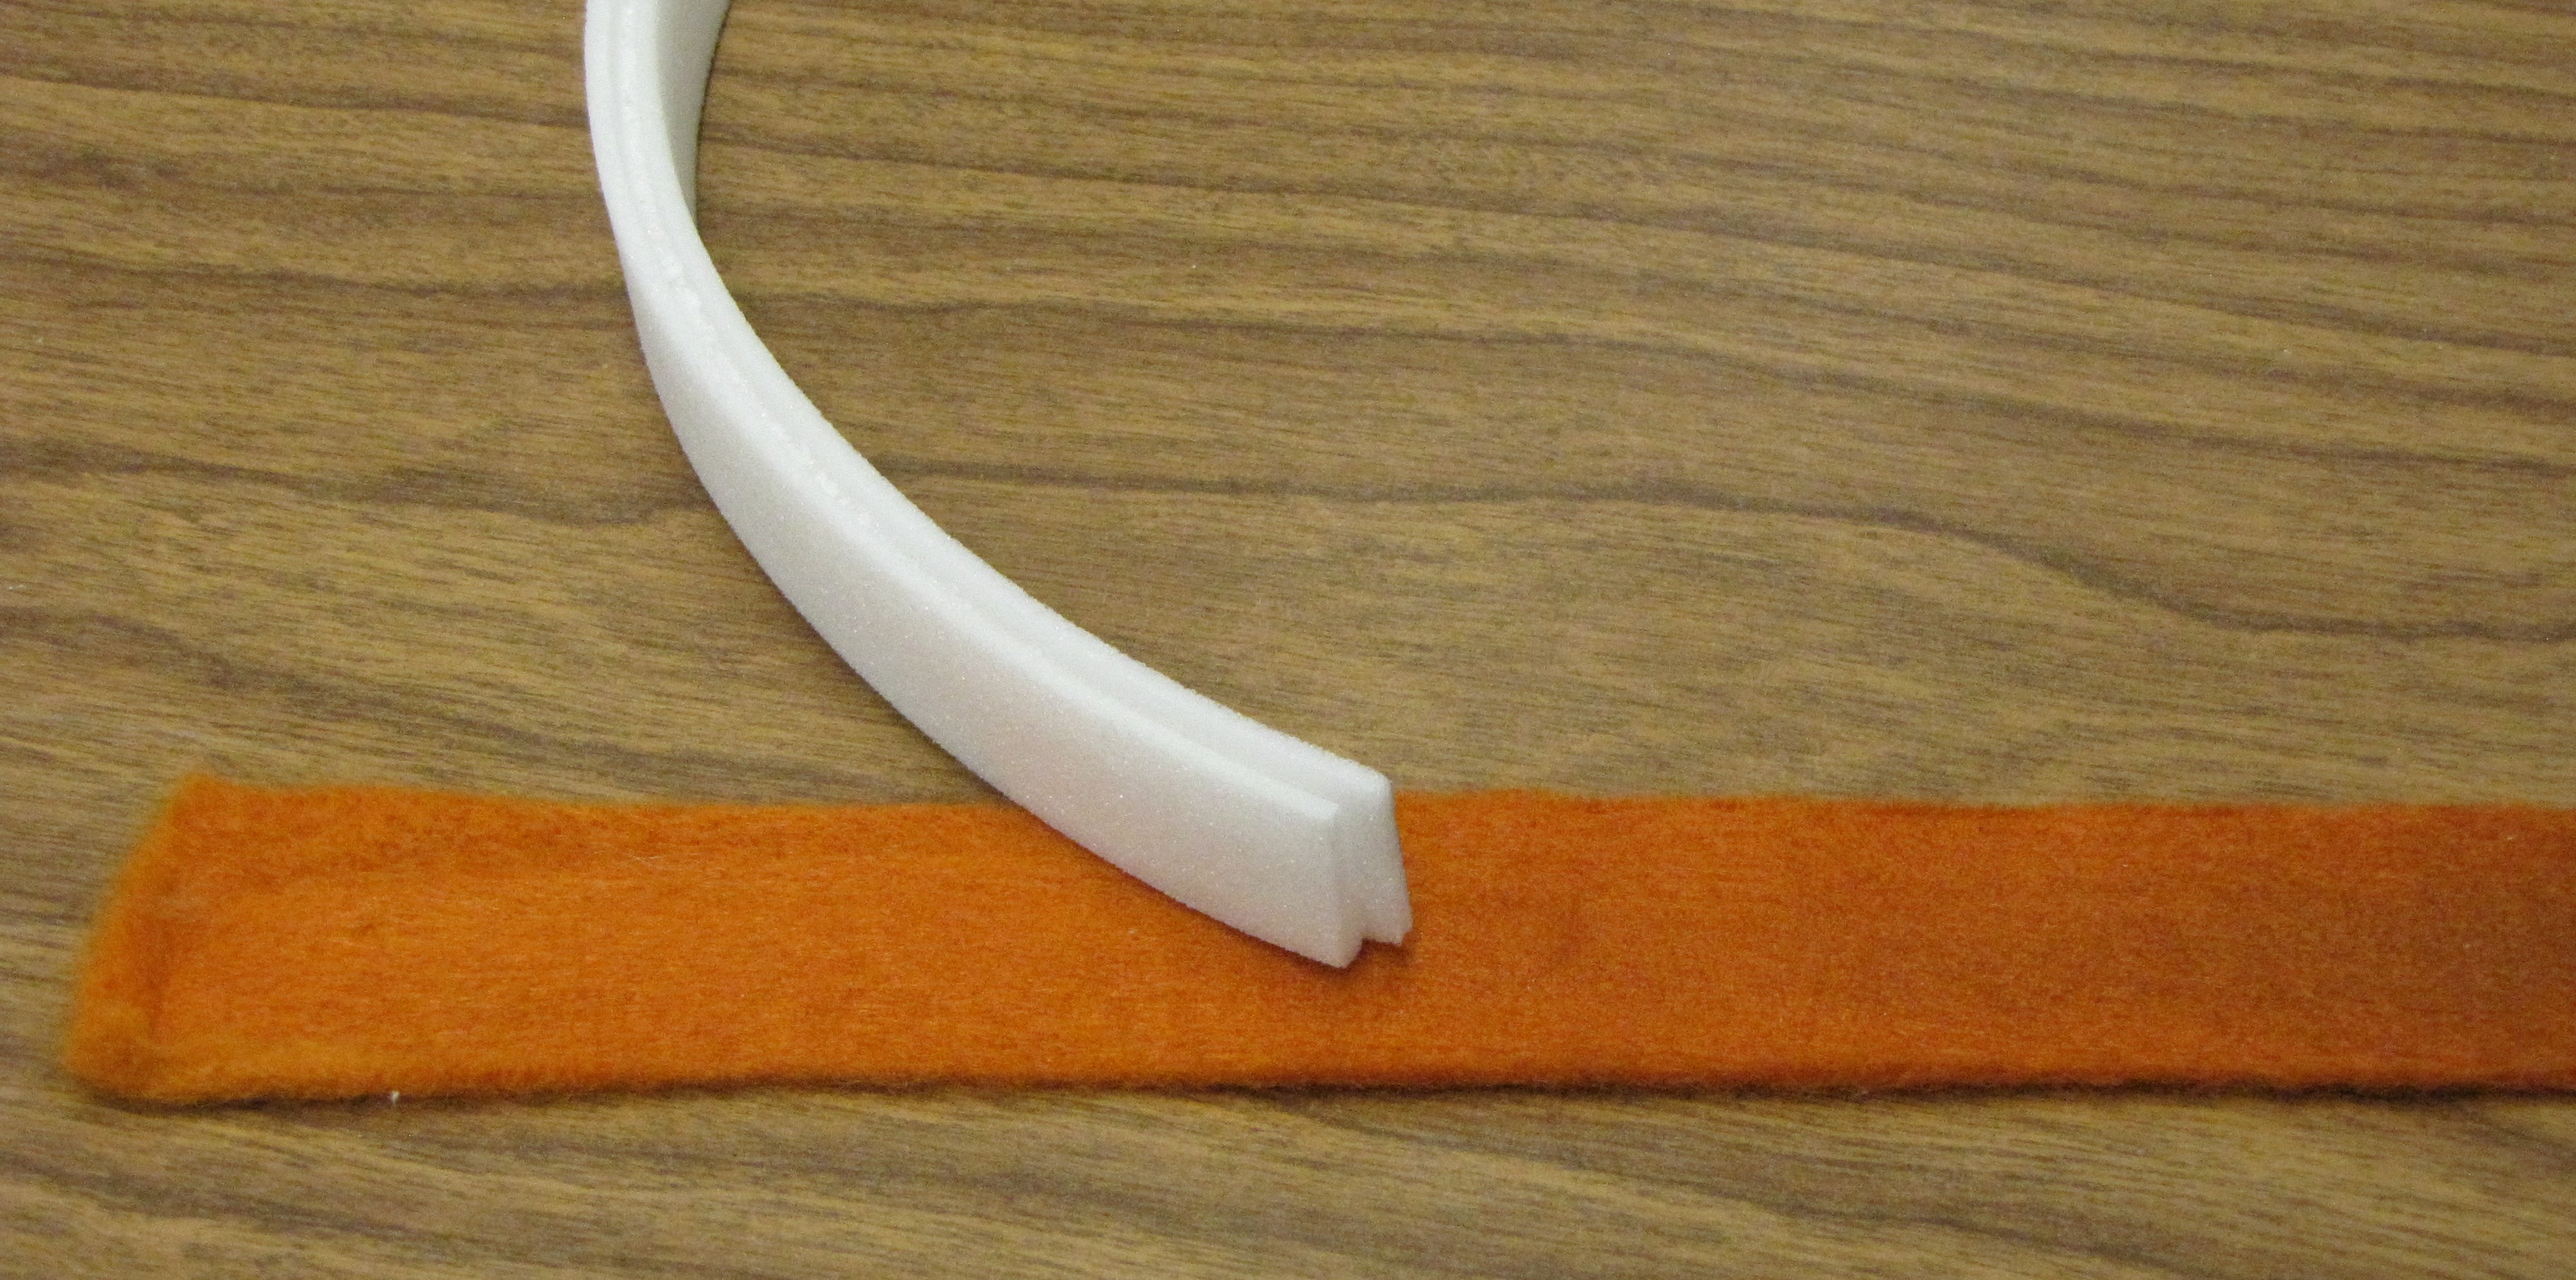
- Make felt-Rohacell-felt sandwiches, and place them in the oven. I made 2 at a time. 8 min.
- Take one out, and *quickly* place the whole sandwich in the mold. Wrap the mold with string,
and let it cool, 10-15 min.
- Take the formed strip out of the mold, and cut off about 1" from each end - the ends
are not properly curved.
| 
|
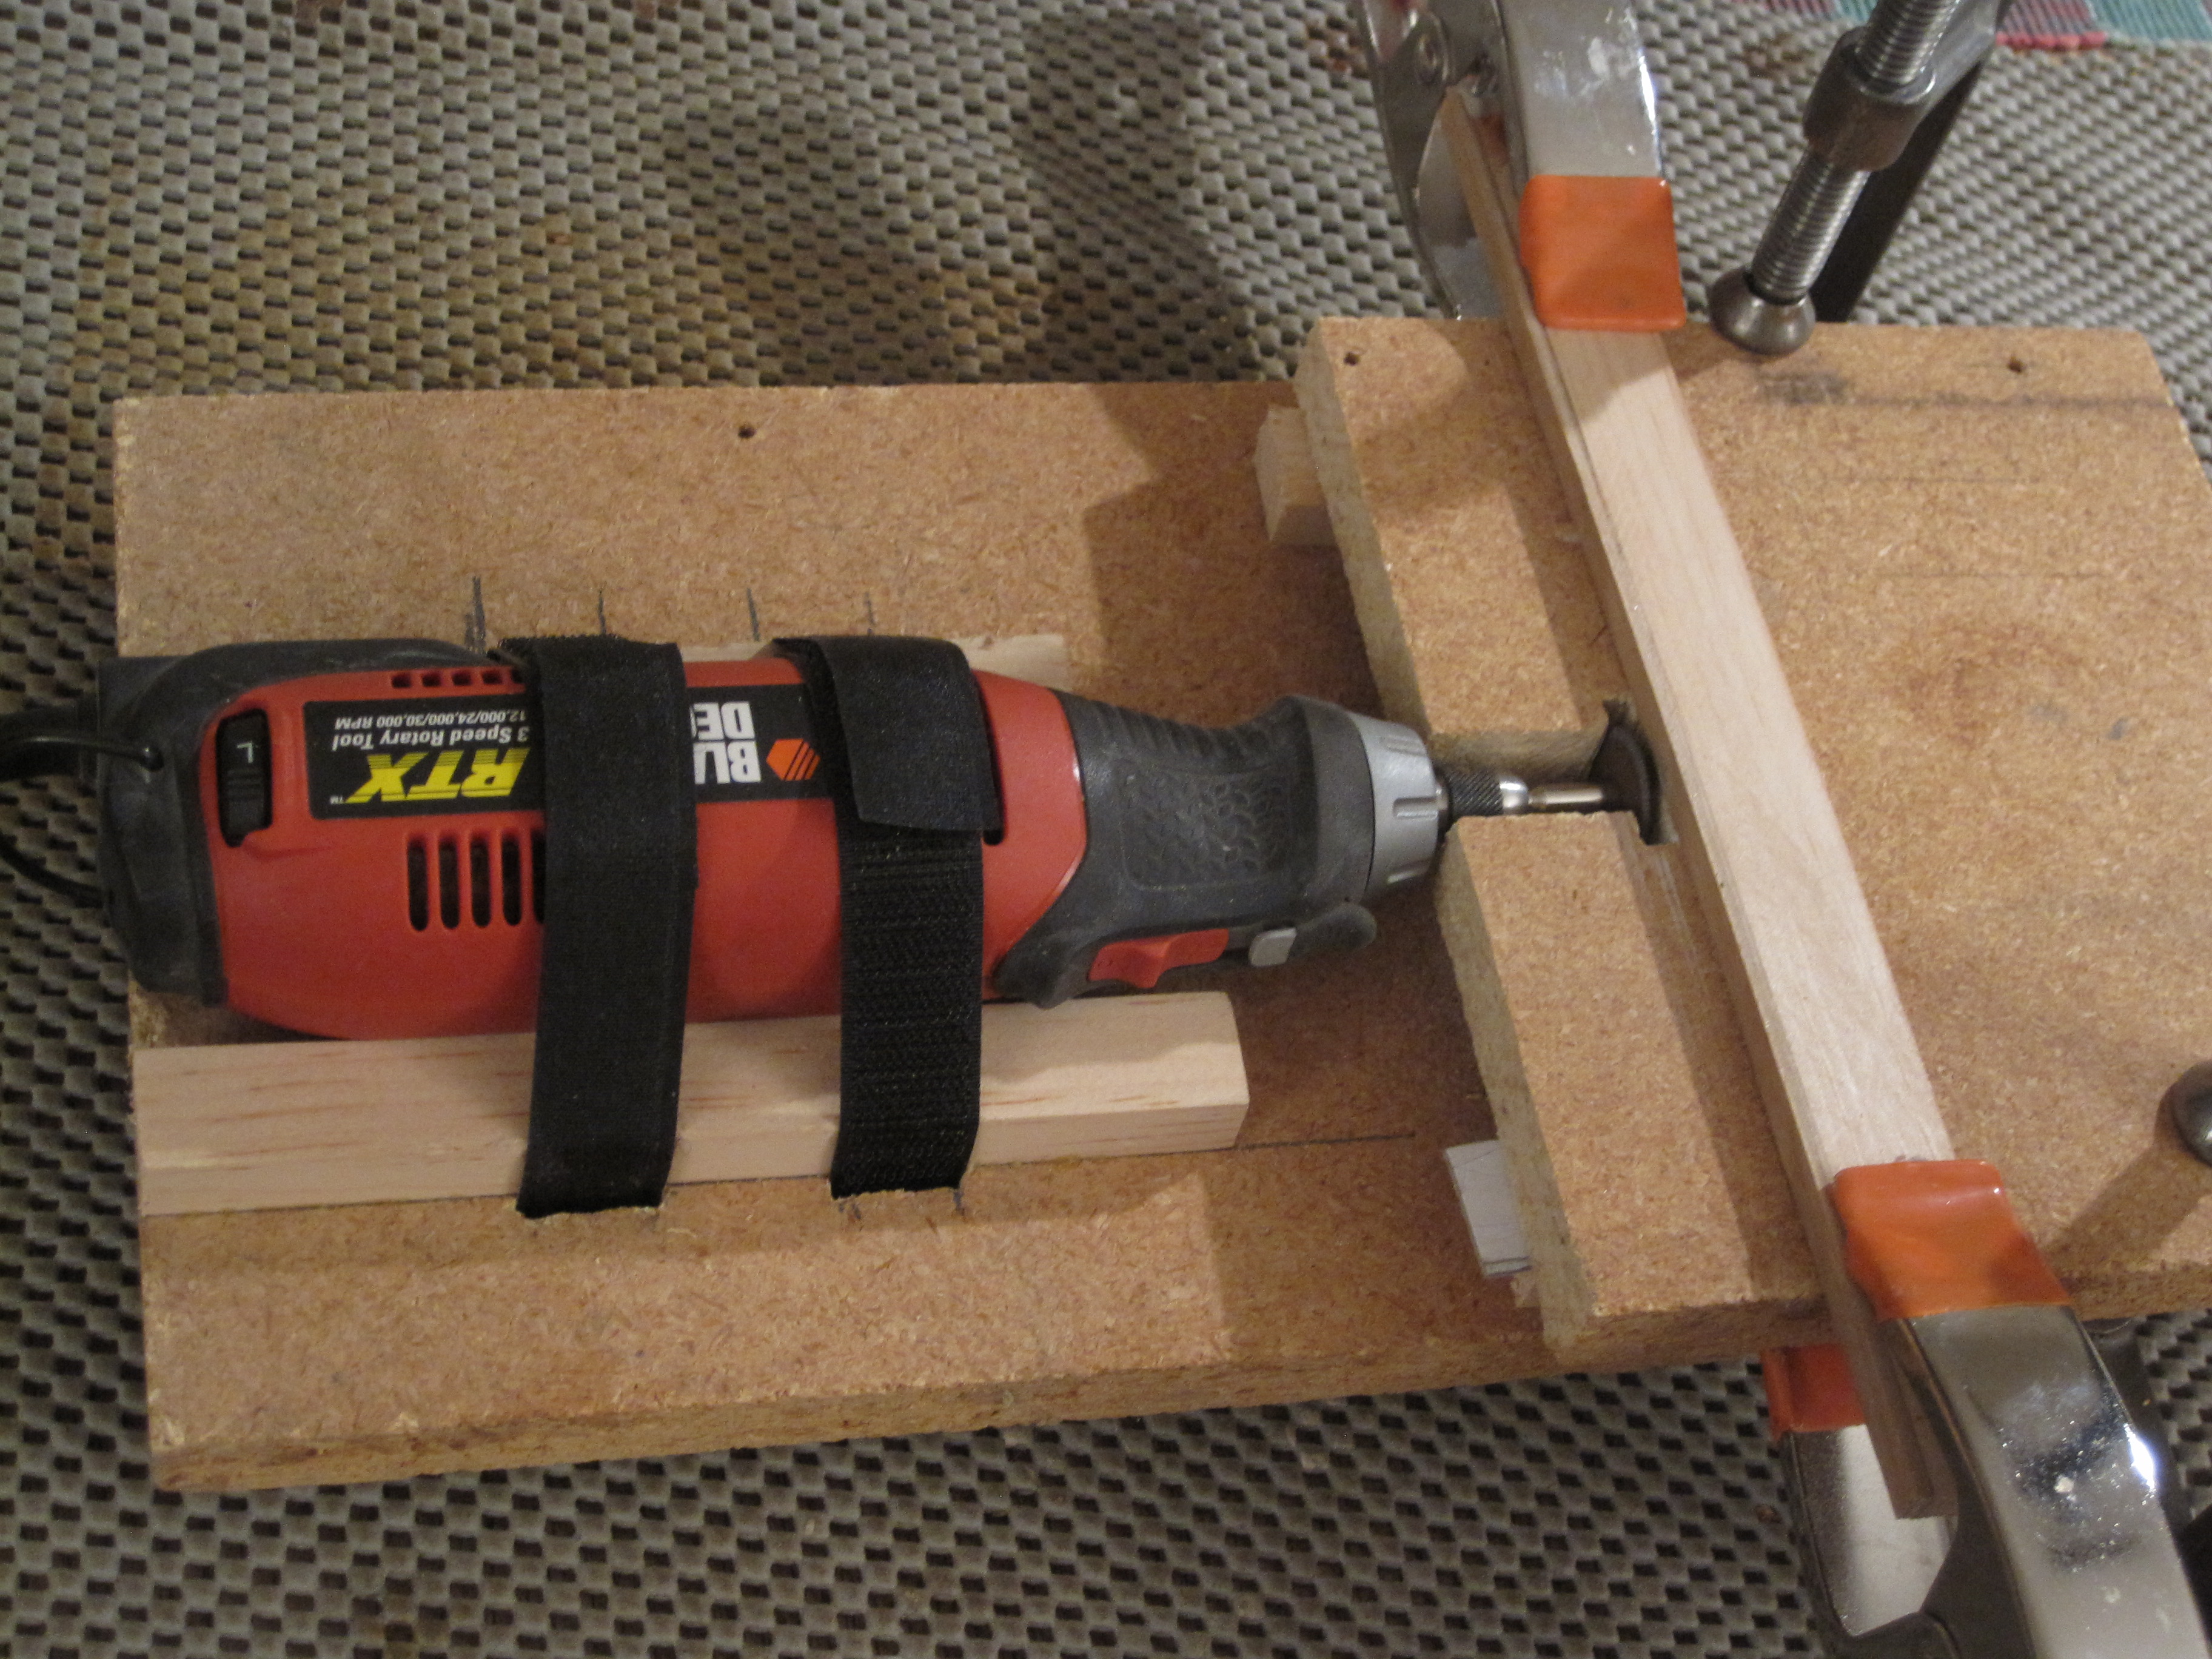
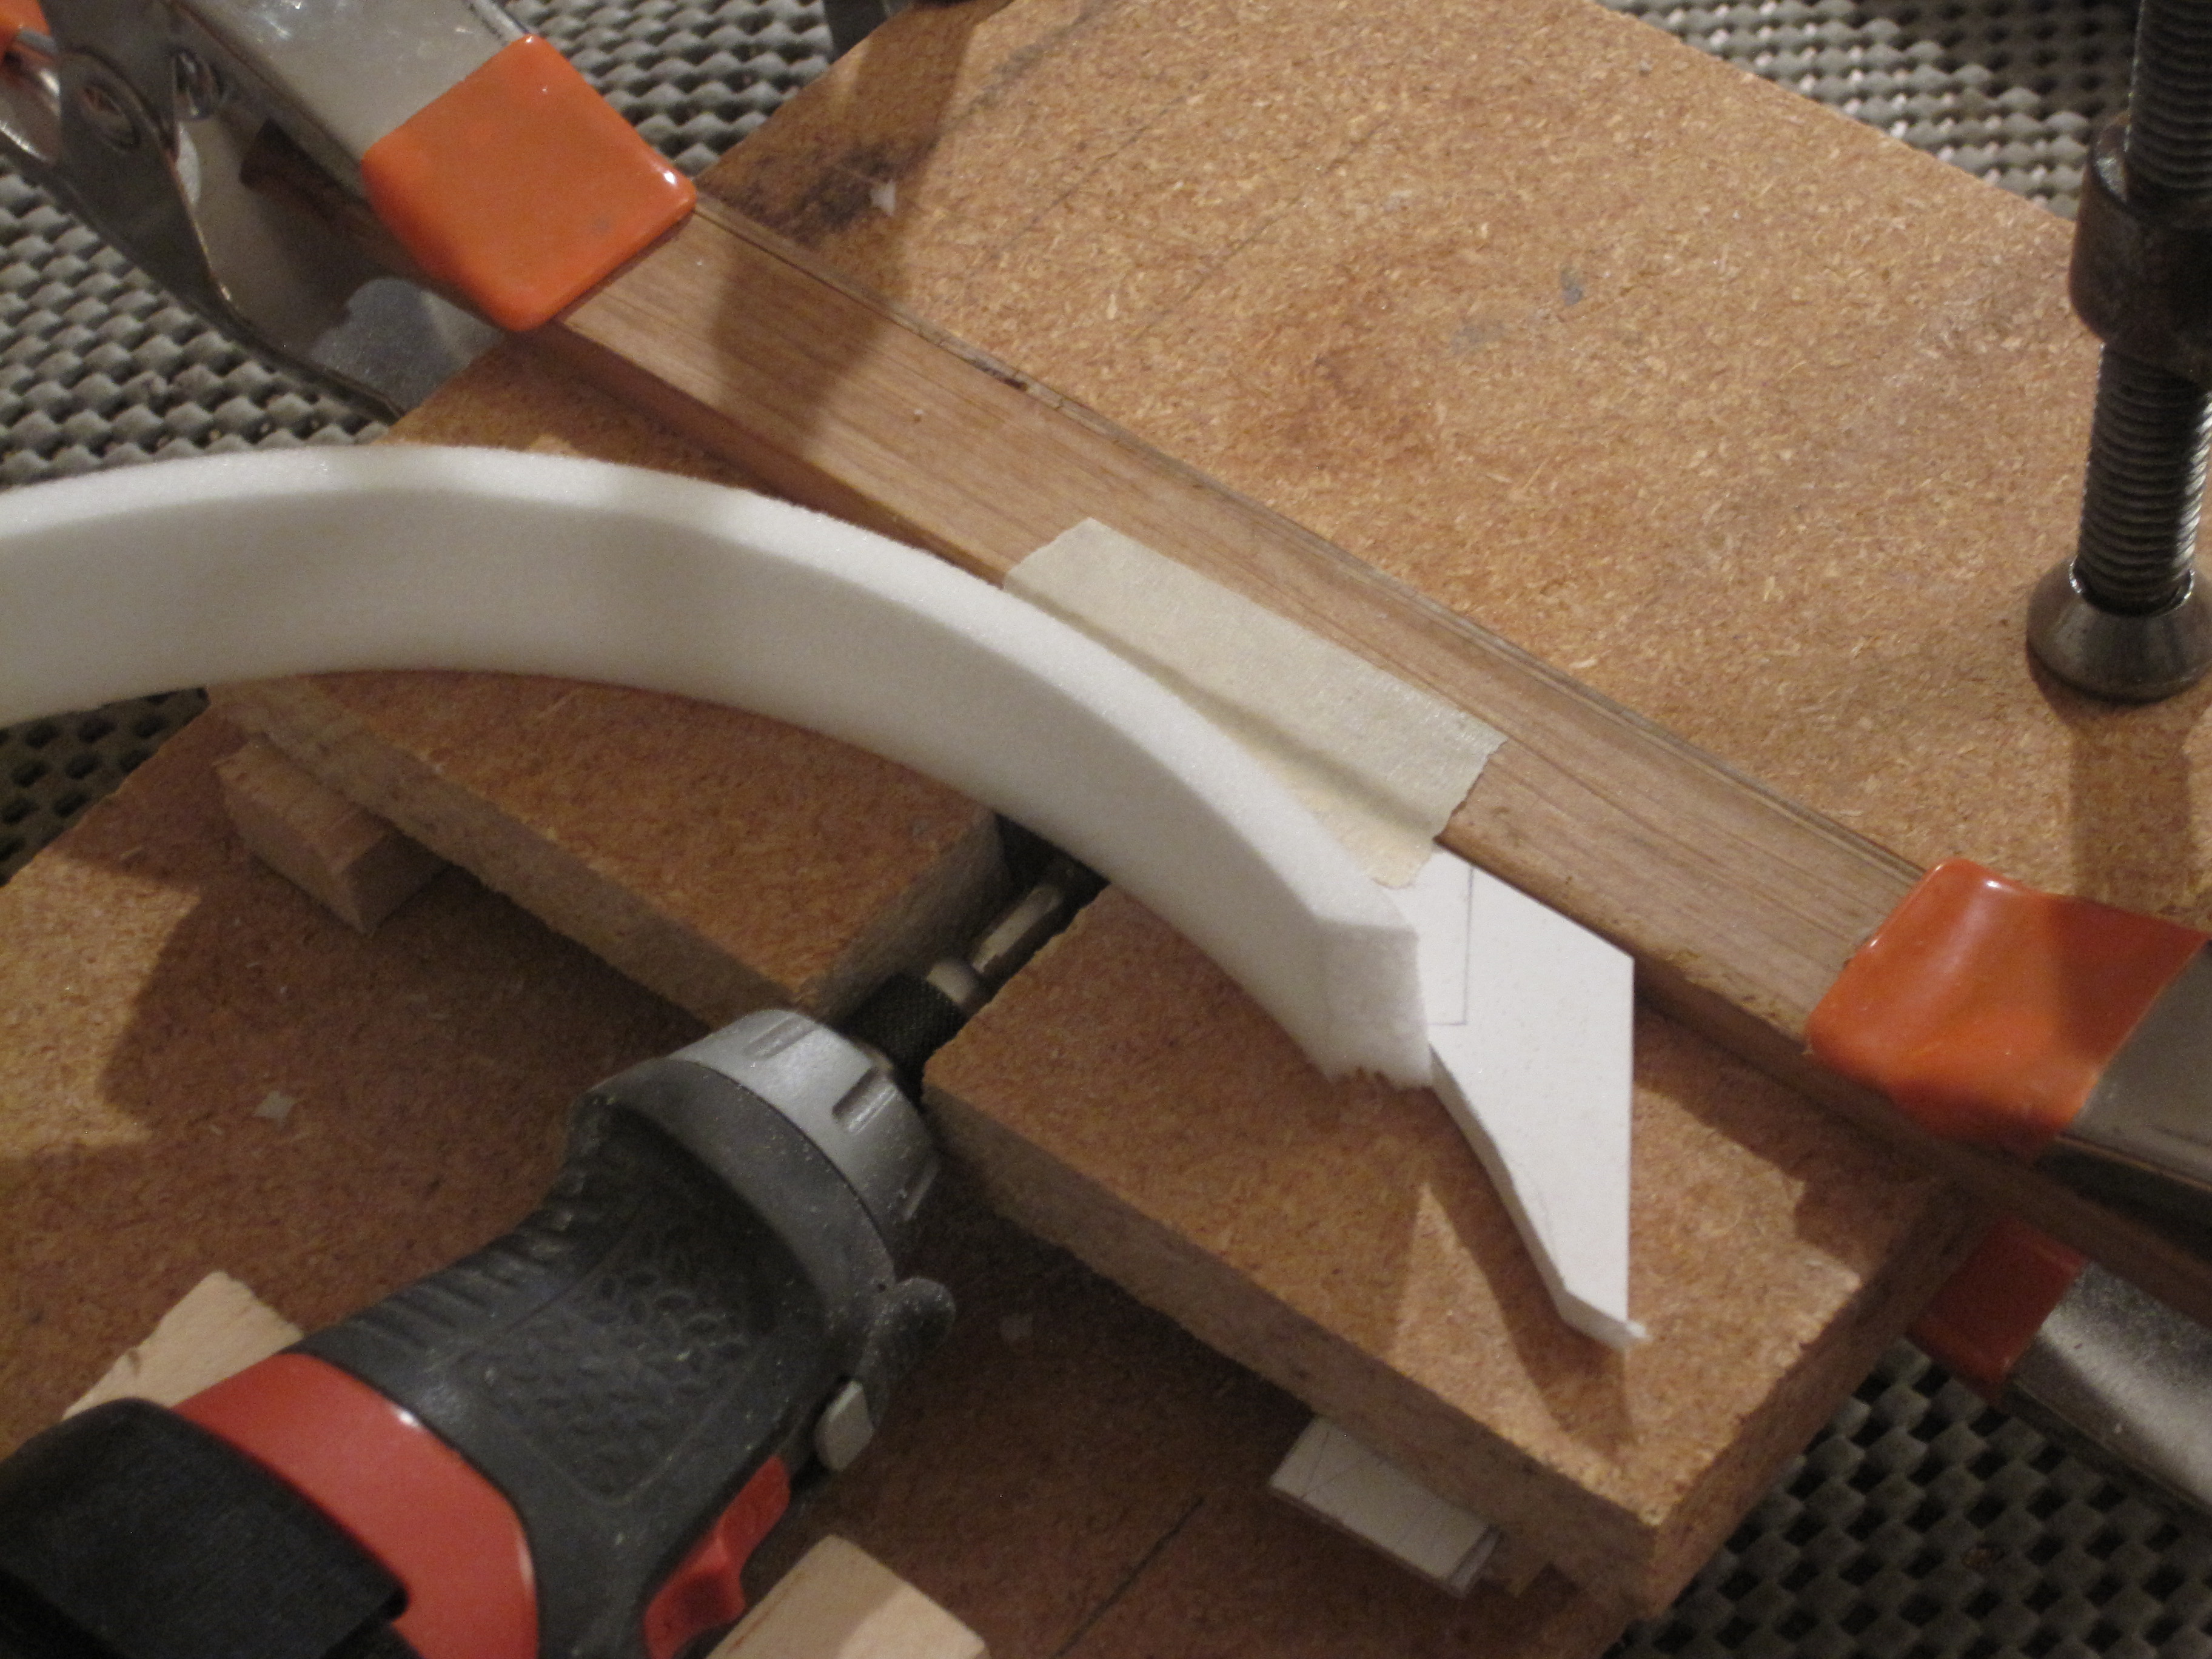
- Build a miniature tablesaw for your Dremel tool, which is fitted with a cutoff
disk. The tool is held down with velcro, and you can see the adjustable work surface, which
has a fence clamped onto it.
| 
|
- A curved guide has the exact radius of the curved Rohacell.
| 
|
- Cut the groove. 2 passes makes 1.5 mm
| 
|
- On a mockup of the cage lip (same as before)
fit the pieces and trim the ends.
- While the pieces are fitted onto the mockup, mark and cut the strip width to
15 mm above the cage lip.
Also shown are 2 of the felt strips
| 
|
|
| 
|
| 
|